In this tutorial, we will use the WP Columns block to lay out a sign with two column of images a vertical separator. Applying best practices along the steps.
The Plan
Laying out a digital sign is different from laying out a web site page. For a web site page, responsive design is important to adapt to different screen sizes. For a digital sign, it is important to understand how the page would look on that particular screen.
The current version of the block editor by default also only use the center portion of the screen for your layout. Some of the block themes remove this limitation. We have found the Page Editor Full Width plugin https://wordpress.org/plugins/page-editor-full-width/ to be useful.

The strategy to controlling your layout for a digital sign is to create a single column with the right width (the width of the screen), and do your layout within that single column.
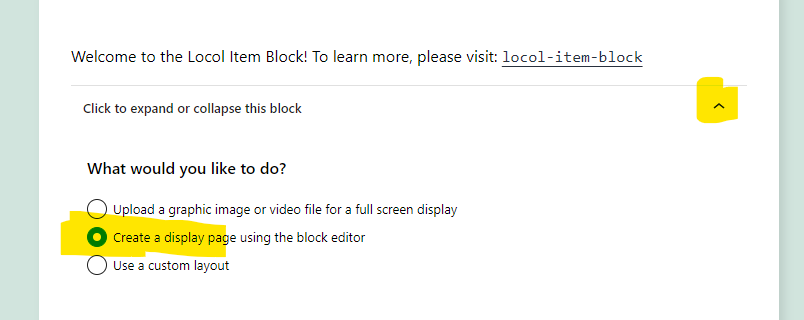
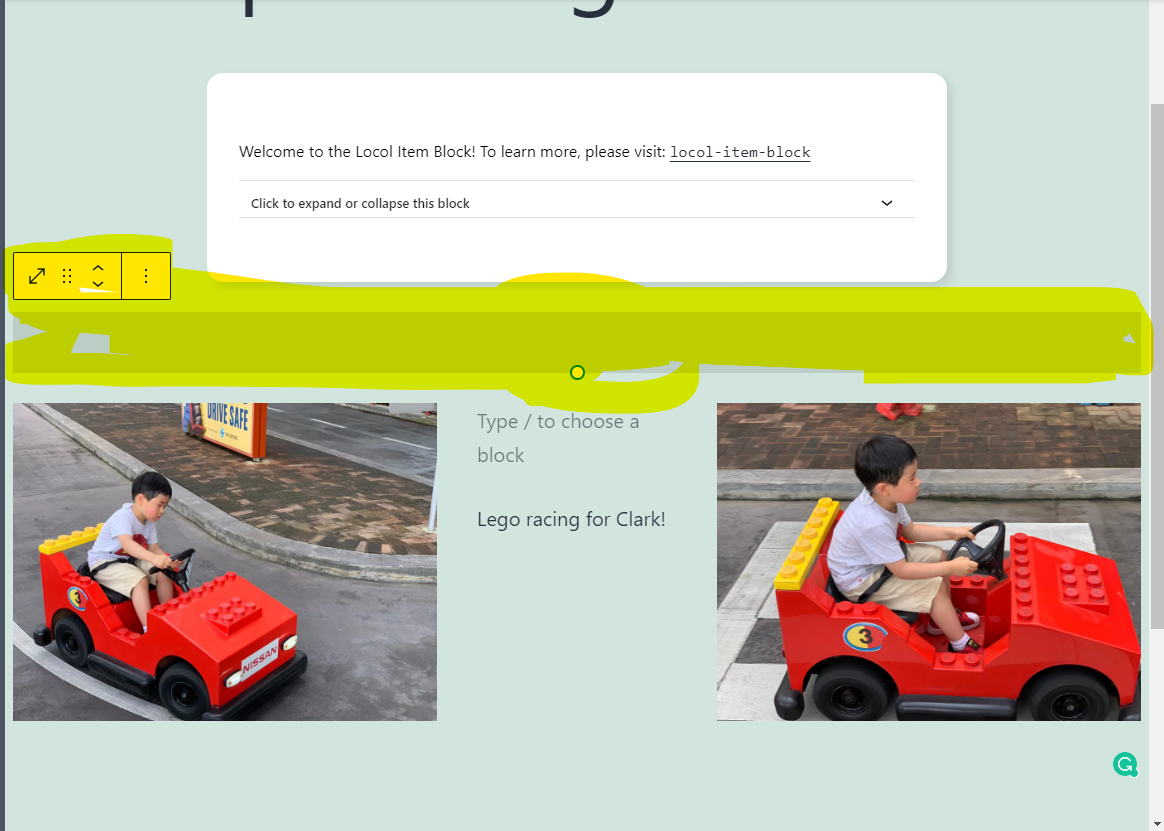
When you use the block editor to lay out your slide, make sure that you set the Create a display page using the block editor in the Locol block. The collapse icon on the top right corner of the block is also handy for minimizing the Locol block.
Step by Step
The following steps use the default WP Columns block to achieve this. The same can be accomplished with column or container blocks from other block themes.
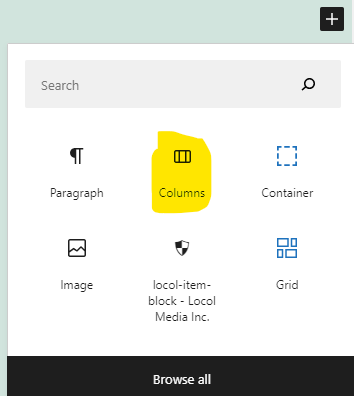
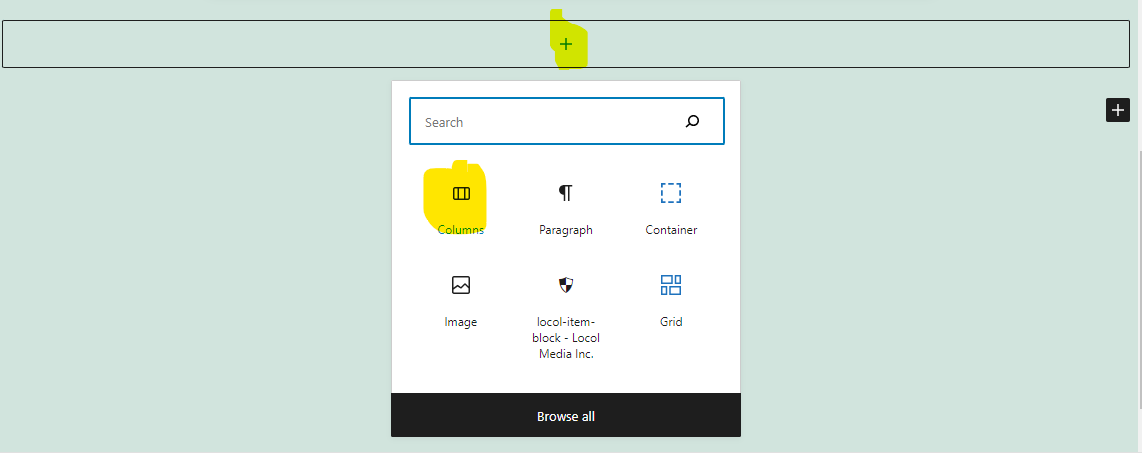
1, Look for the Add block button (black plus icon) beneath the Locol block, click on it and select the Columns block.
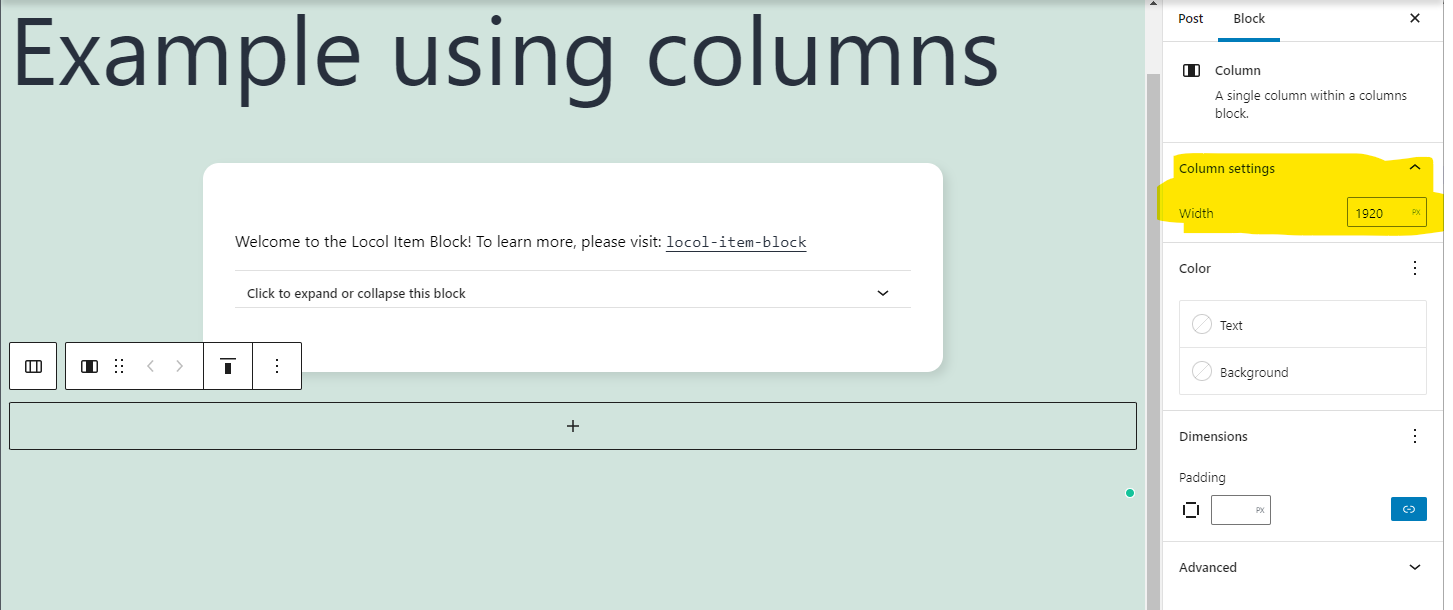
2, Select a single column Columns block and input the size of your digital display in the right hand Block panel. This will create a single column with the right width so that you can layout the sign’s content.

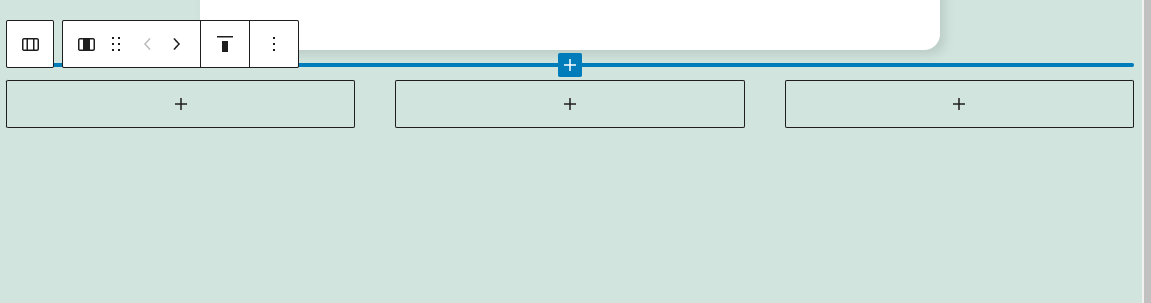
3, In this example, we will use a Columns block within the outer Columns block to create a three panel layout. To do that, simply hit the plus icon within the first block created, and select the Columns block again, specifying three columns this time.
4, We now have a three column block inside the full screen width block.
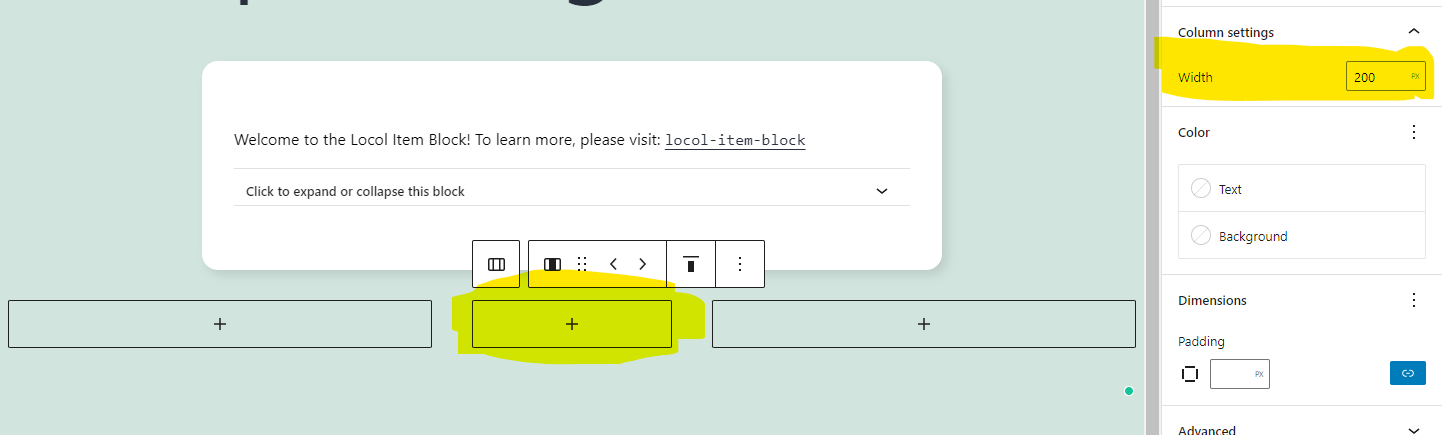
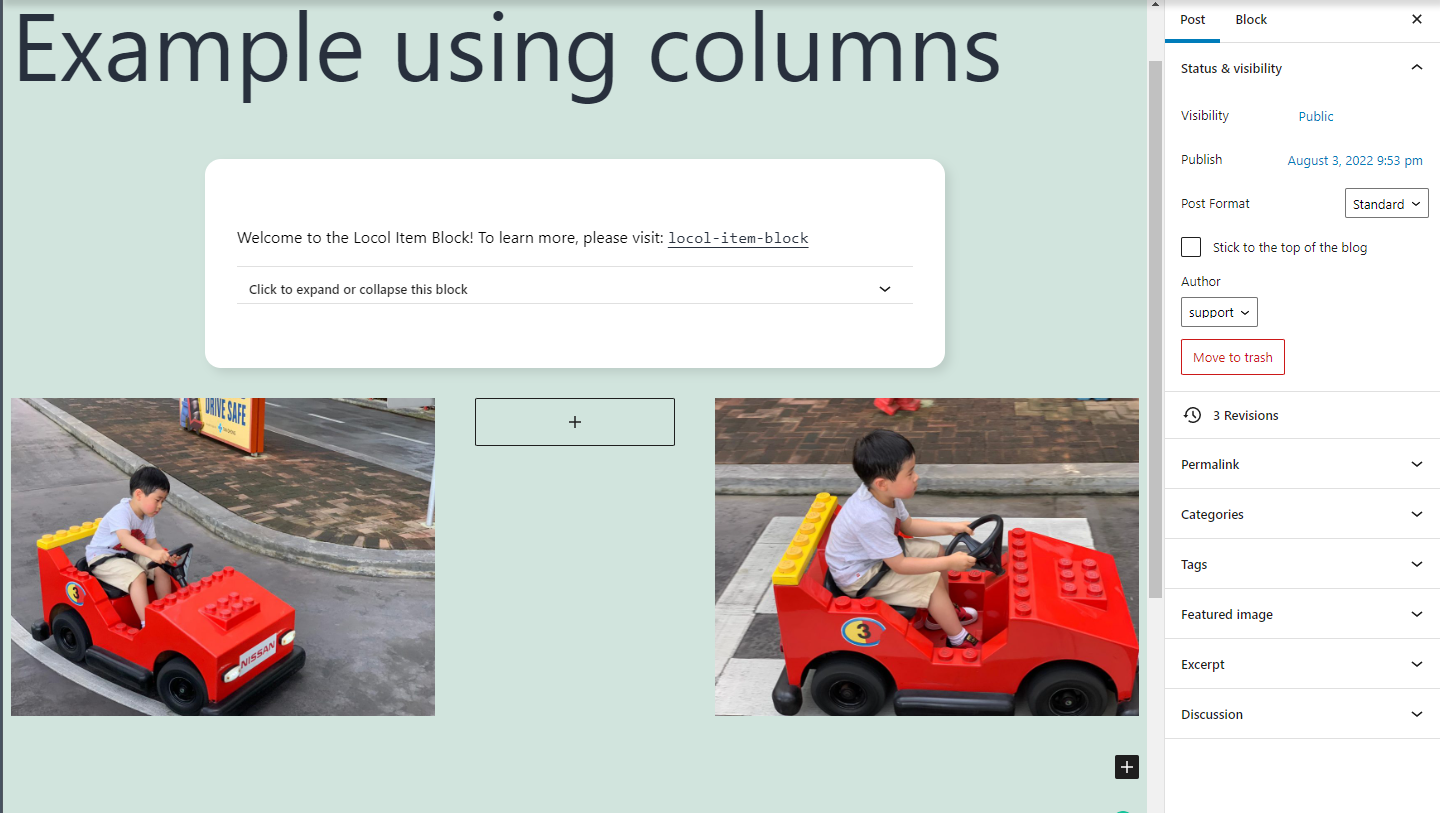
5, We are using the middle column as a vertical separator. It can be blank, or we might put some something simple (like a paragraph) in the middle column. As such, it is a column narrower than the outside two columns.. In this example, we are setting the width of the center column to 200 pixels.
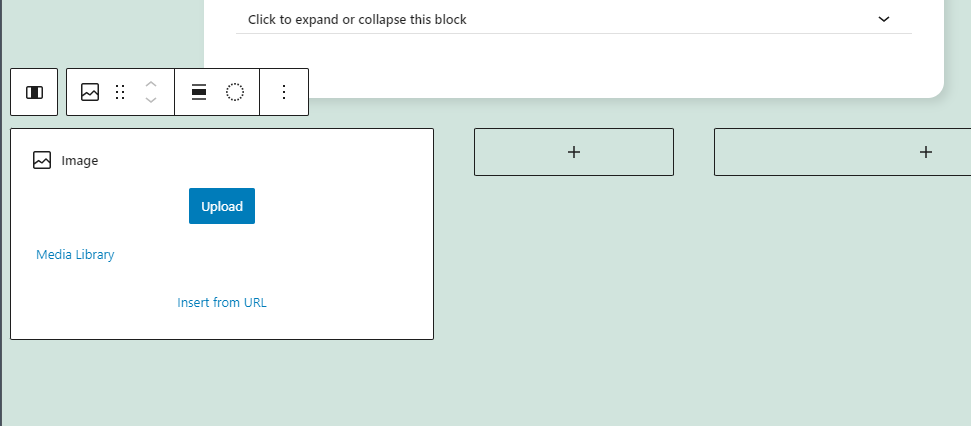
6, Insert an Image block into the left column and upload your image.
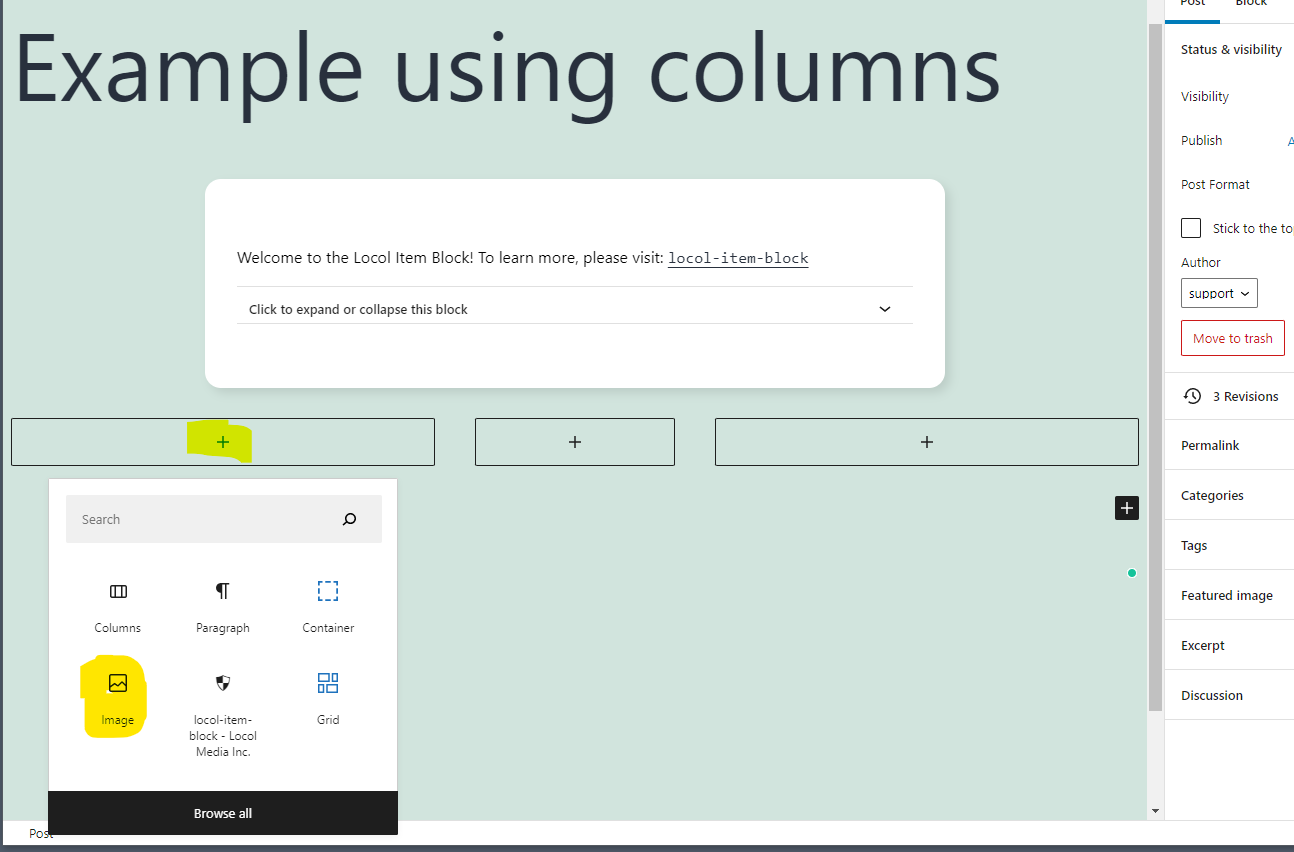
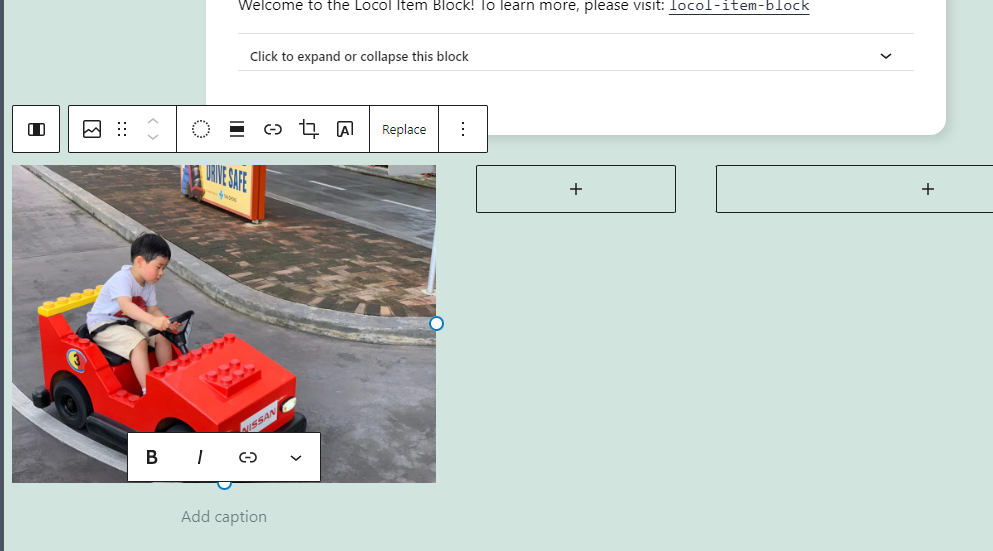
7, Do the same for the right hand column.
8, We can leave the middle column blank, acting as a pure separator, or we can use it for something. Adding a small line of text into the middle of the two columns.

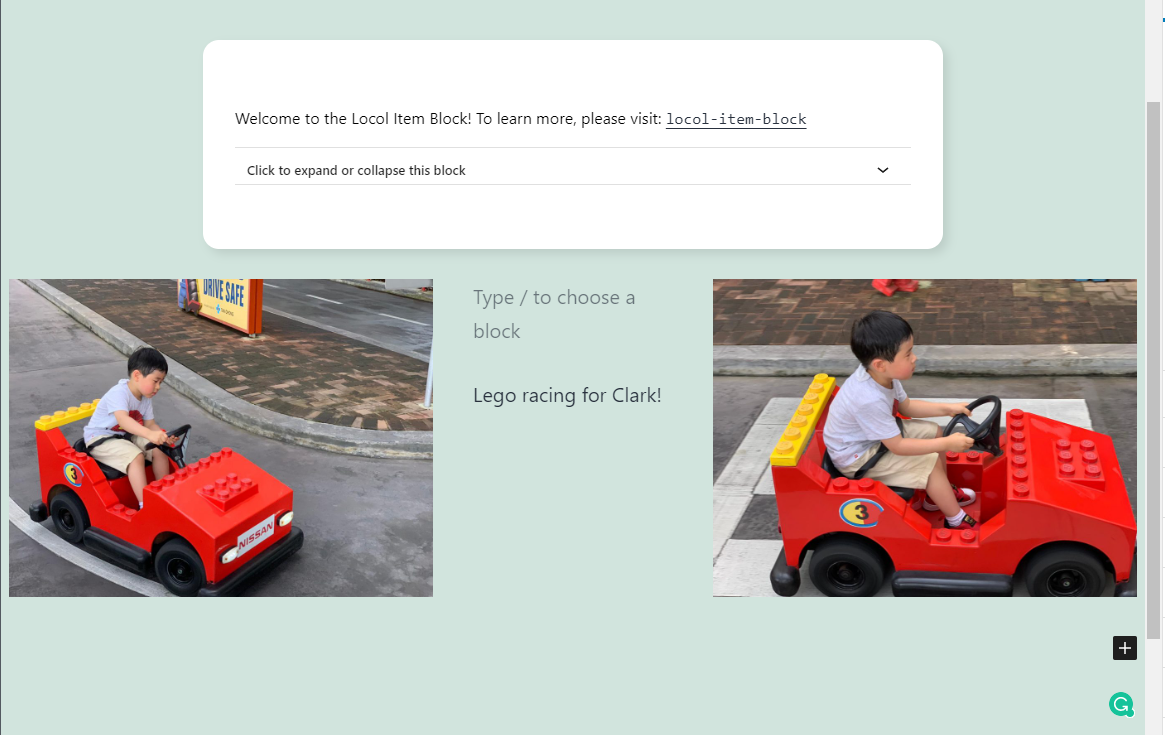
9, Add a Spacer block to provide better centering of the content.
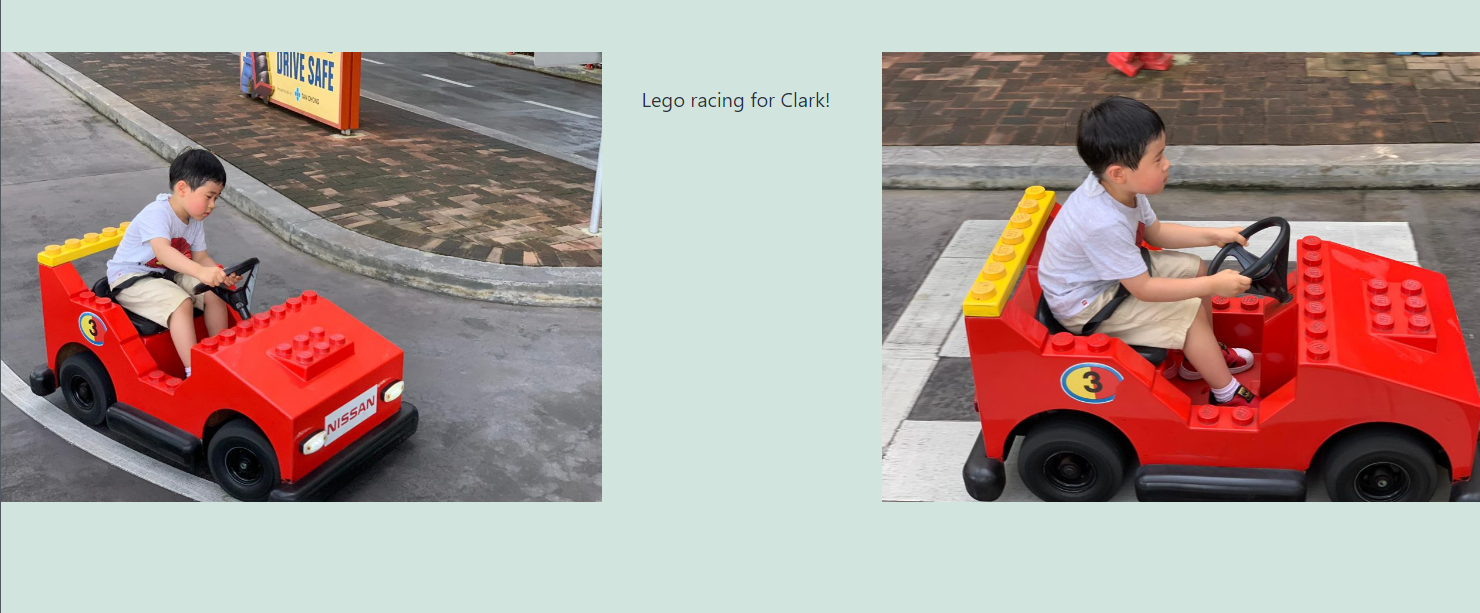
10, And here is a preview of the slide.