Welcome back! If you haven’t seen our first article that goes over the fundamental tools you have access to, you should check out our Quick Start Guide first. If you prefer to see a video rather than read this article, click here.
This article will go over the Block Editor feature of WordPress and how you can use it to create slides.
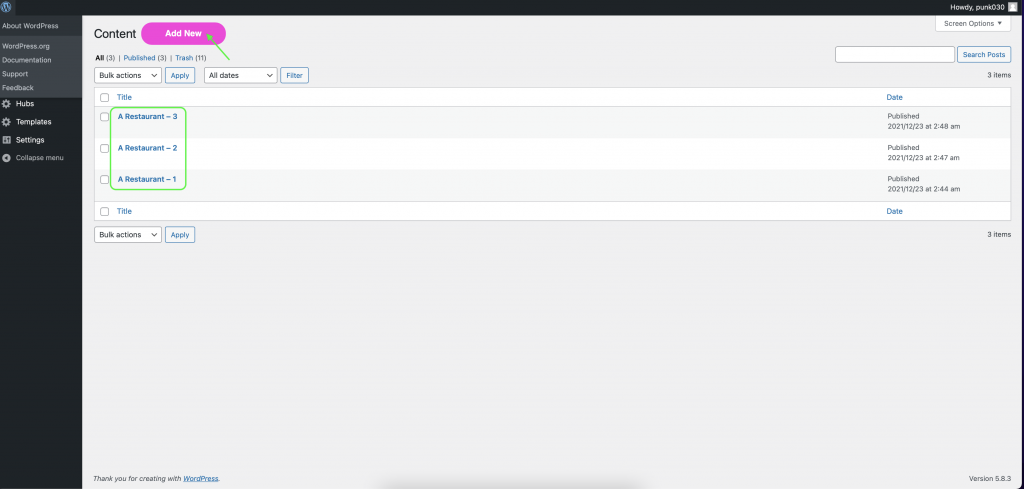
To do this, you will need to return to the Content tab. In the example below, you can see the three slides we created in our last article using pre-made images. Click on the Add New tab to create a fourth one.
Inside, we can see the familiar Title section. Add your title as before and look at the three choices below. Last time, we chose the first option because we had a pre-made image. This time, choose the second option “Create a display page using the block editor.”
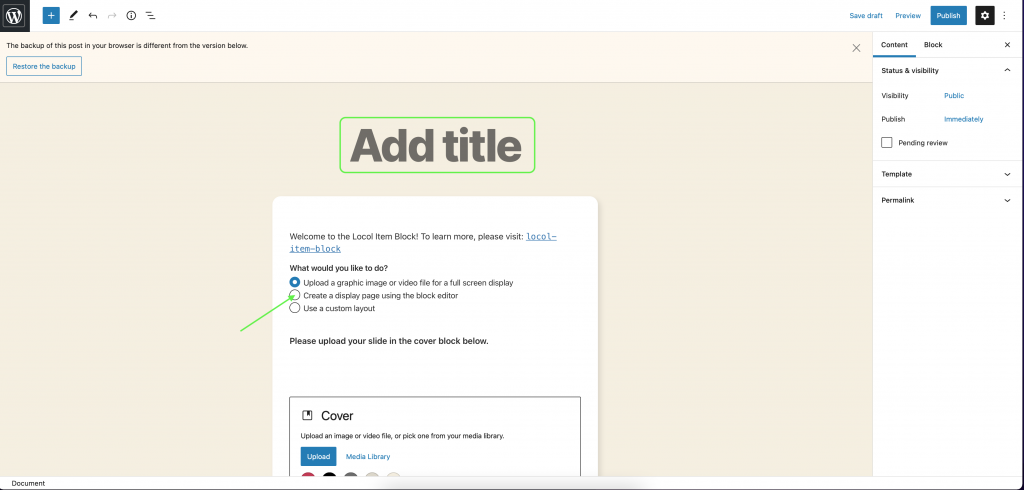
Once you have made your selection, you will see a new set of instructions that directs you to create your page content below the current block. We will do that later; in the meantime there are other sections to make.
Select the playlists that you want this slide to appear in. In our example, we will add this to the playlist we created in the last article, A Restaurant.
Also, as before, you are free to select a duration for how long you would like this slide to appear for.
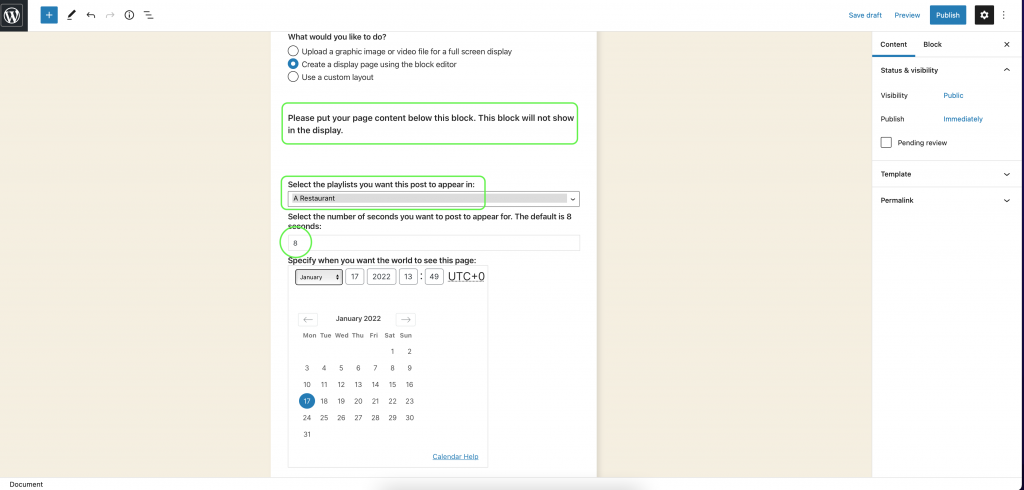
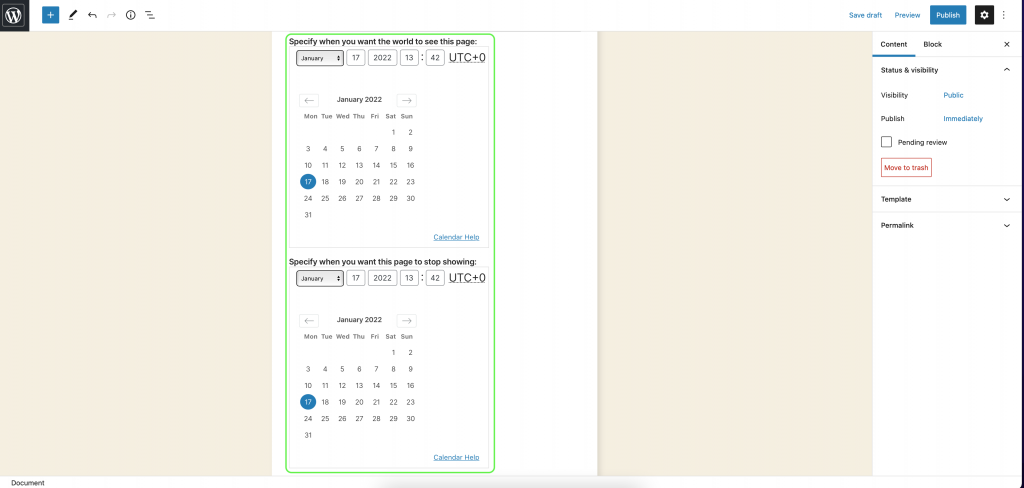
Next, select which dates you want this slide to be featured.
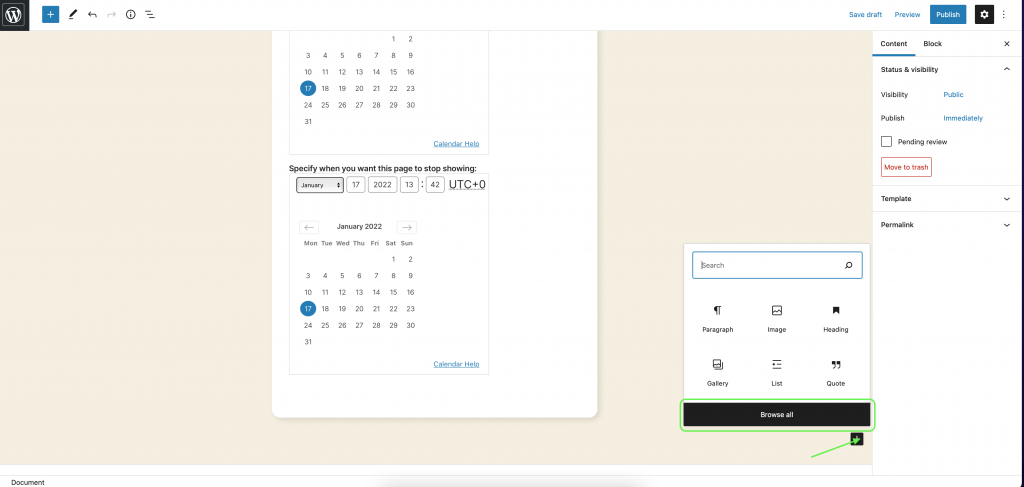
Now that you have made all of your selections, you can begin using the Block Editor. Those of you who are familiar with WordPress already know what tools are available to you. If not, click on the Plus Box for some options, then click on Browse All.
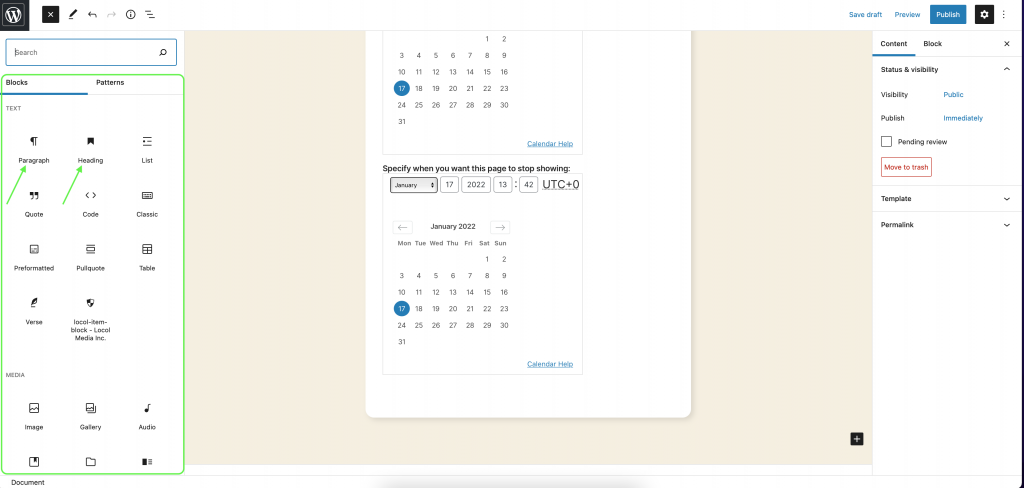
On the left you will see a full list of every tool at your disposal.
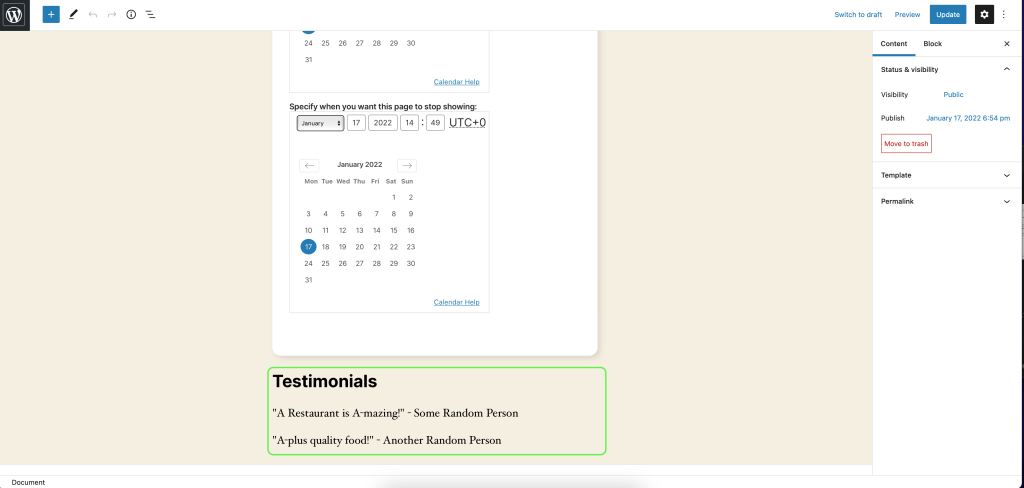
For simplicity’s sake, this article will just create use the Heading and Paragraph features just to illustrate how things should look once completed. Feel free to use any and all of the other options as needed.
Once you have added all the things you need for this slide, click on the Publish button. Then you can click on the WordPress logo to return to the Content page.
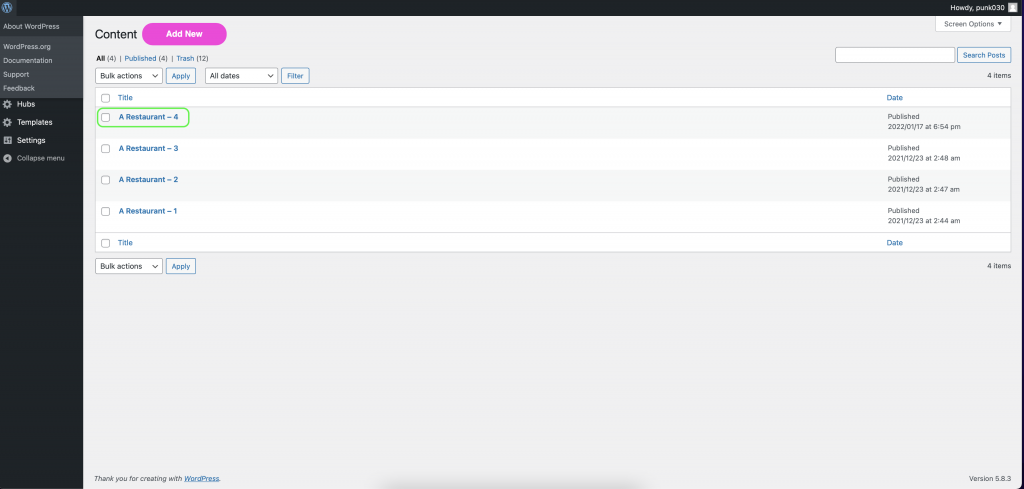
Back at the Content list, you can see the fourth slide for A Restaurant as part of the list.
Now that this slide is complete, you can go back to the Playlists tab to adjust their order, just like we did in the first article.

This concludes our coverage of the Block Editor feature and how it applies to the slides you can create here. We will continue to upload more articles to cover other features and tools we offer.