Why This Scenario?
With Full Site Editing, professionals are able to use blocks to customize entire pages and websites without the necessity of code. Here, we’ll take a look at how that can be achieved.
Context
Restaurant websites are typically a complex mixture of images and text that need to be balanced in a way that attracts customers without overwhelming them with information. This scenario will look at creating an online menu and how Full Site Editing can be used to make this task easier.
Goals
Use Full Site Editing to design an online menu for customers to browse through and can be easily set as part of a digital display.
Phase 1 – Understanding the Space
Since this is a scenario that focuses mostly on the restaurant’s website, there’s not much to be concerned about in terms of the physical space.
However, part of this scenario will explore how to take assets from the website to create a slide for a digital display. In this instance, we would expect a restaurant to set up a display somewhere in the entrance so that customers can see the menu while waiting to be seated.
Phase 2 – Designing the Page
We found that GenerateBlocks is a wonderful plugin that is flexible and powerful enough to serve most needs when designing sites on WP. As such, we’ll be relying on many of its features to build a menu page.
Here’s How To Do It:
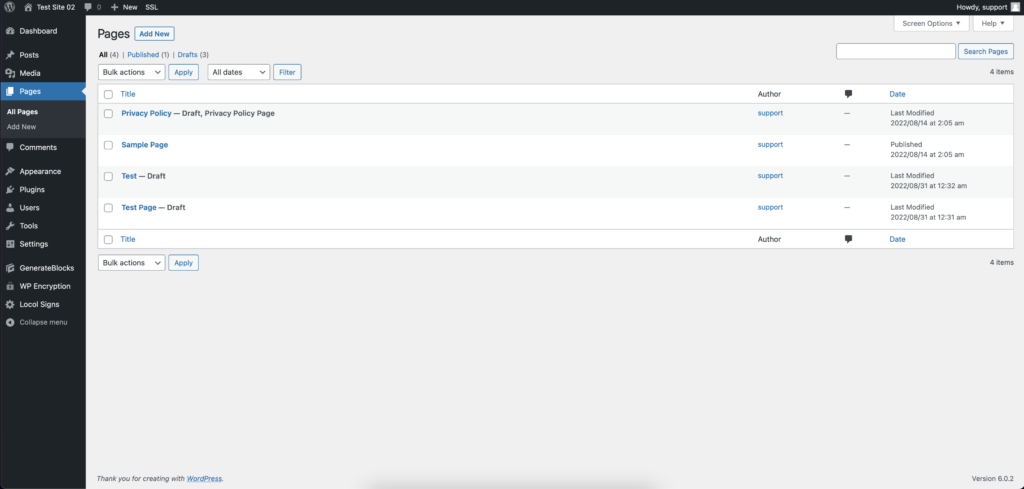
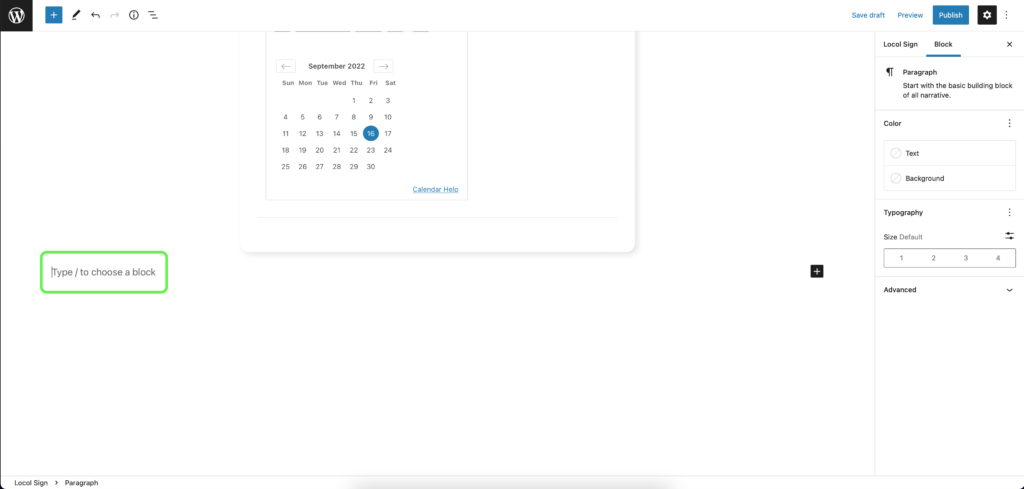
- Start a new Page in the Pages section of your site.
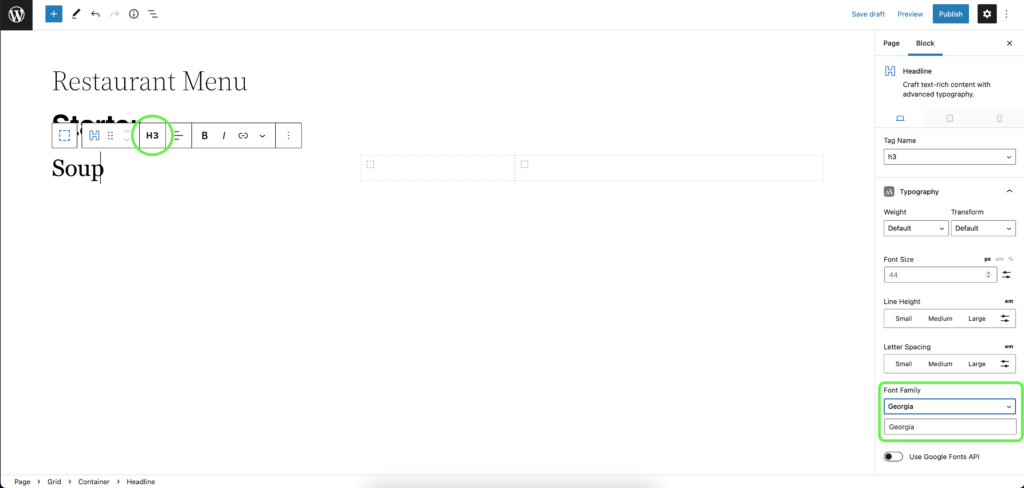
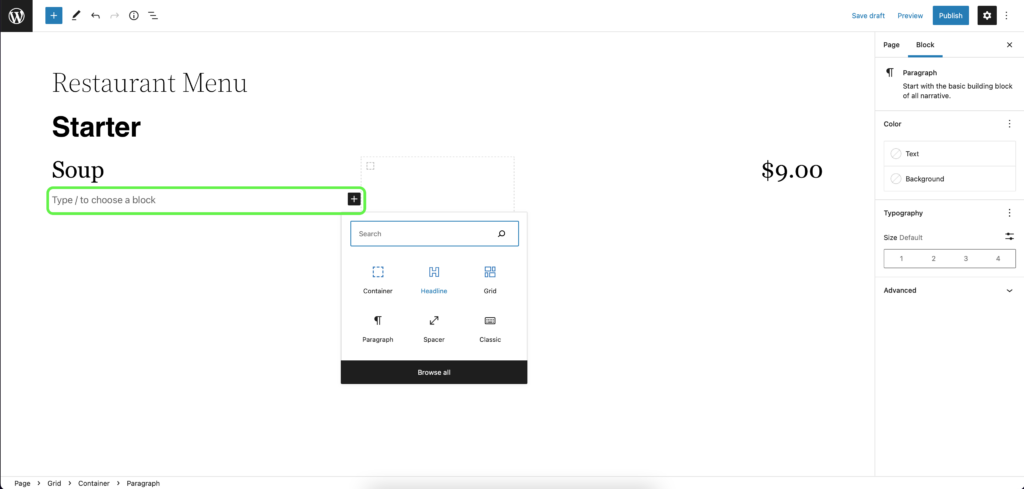
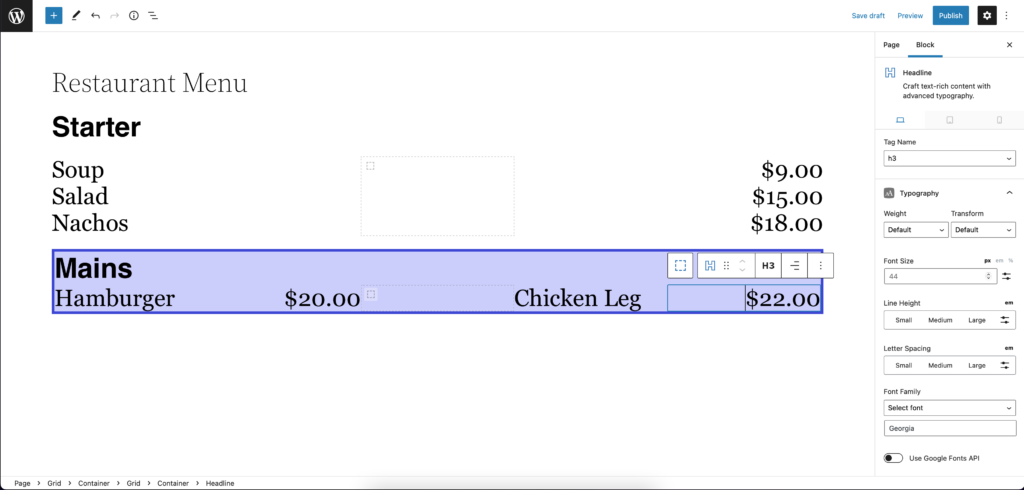
- For a simple, classic design, you can go straight into creating a Heading for whichever section of the menu you are creating.
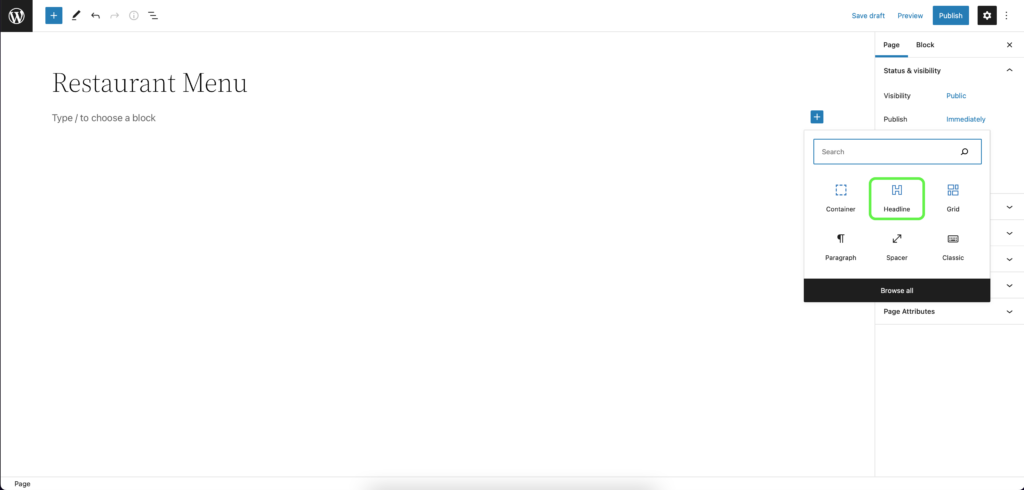
- This block enables font and size selection.
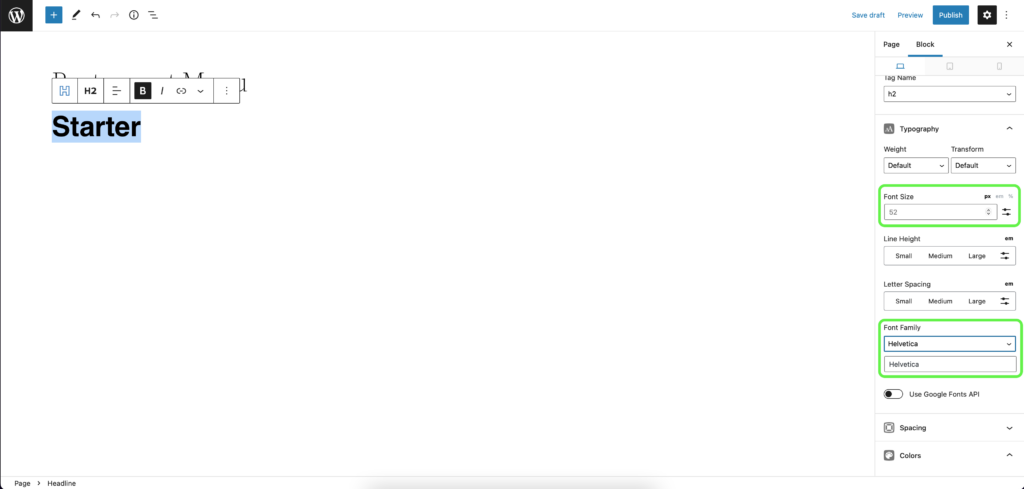
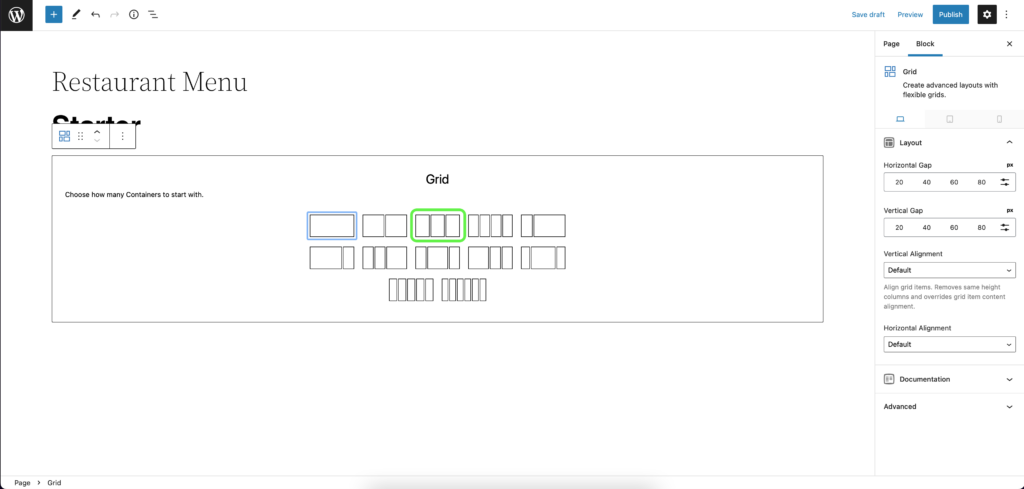
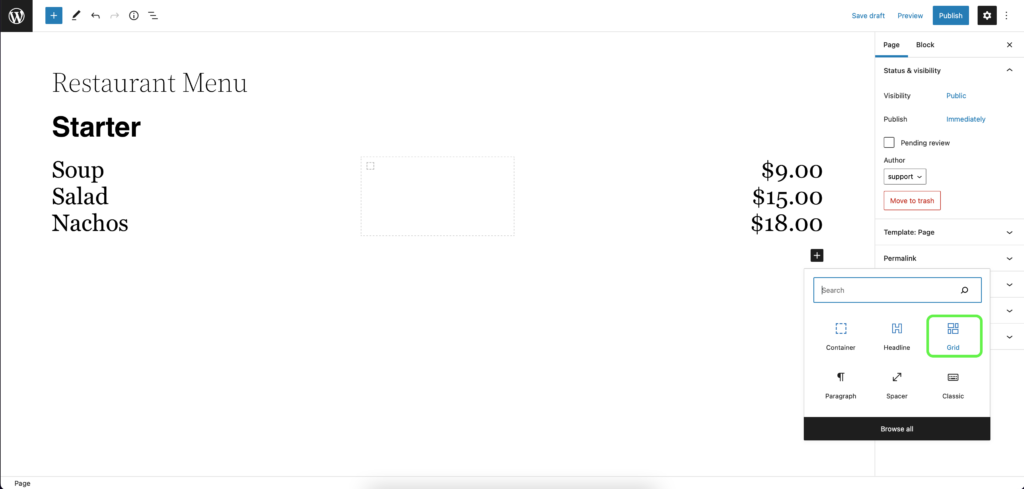
- Underneath the heading, select the Grid block to organize your layout.
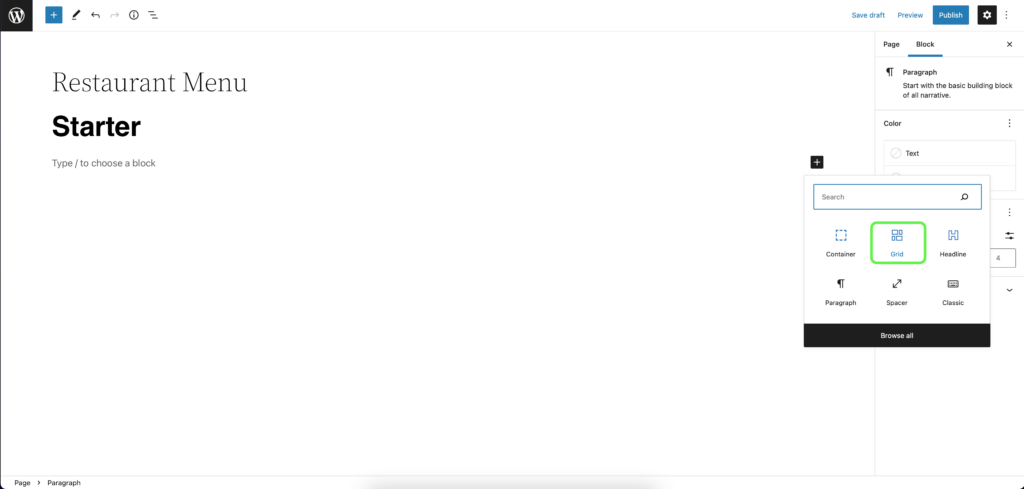
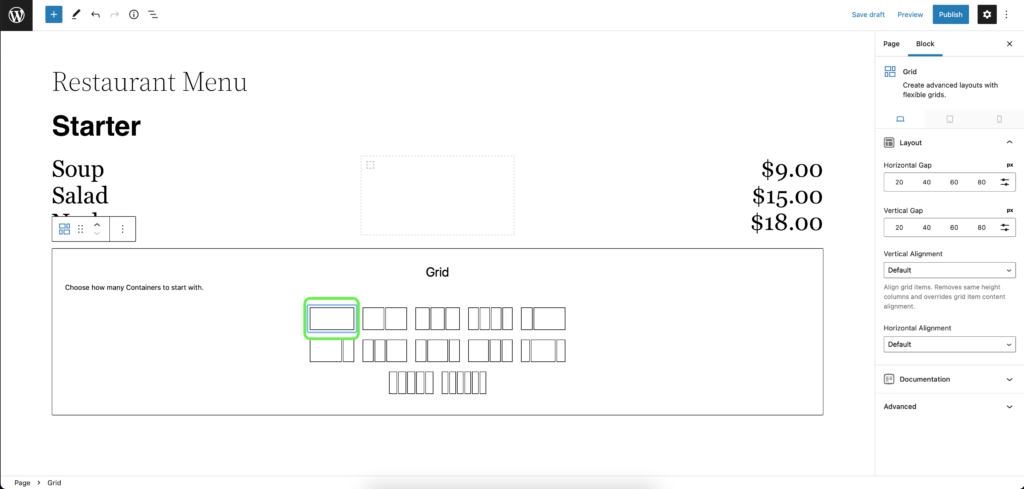
- In this case, we’ll use a 3-Column Grid to keep things clean and simple.
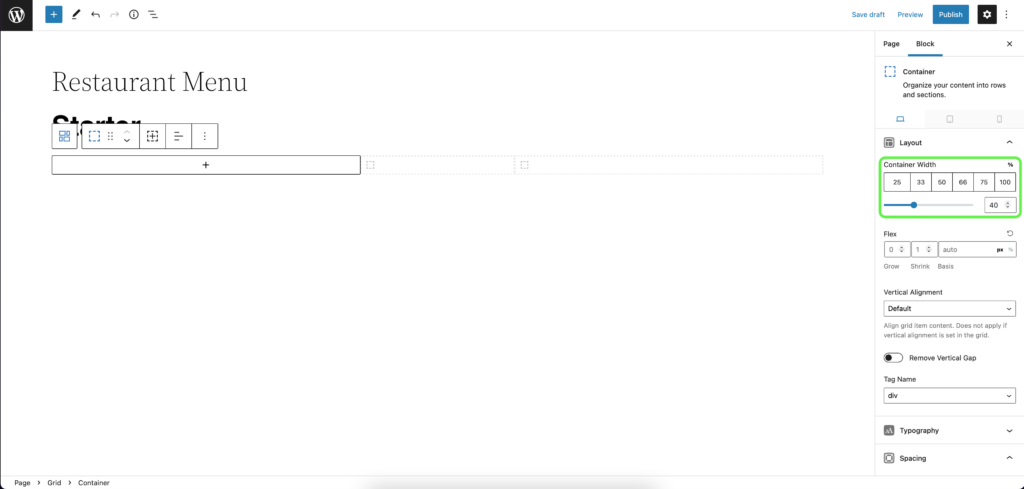
- You can adjust the width of the three columns to best make use of the space.
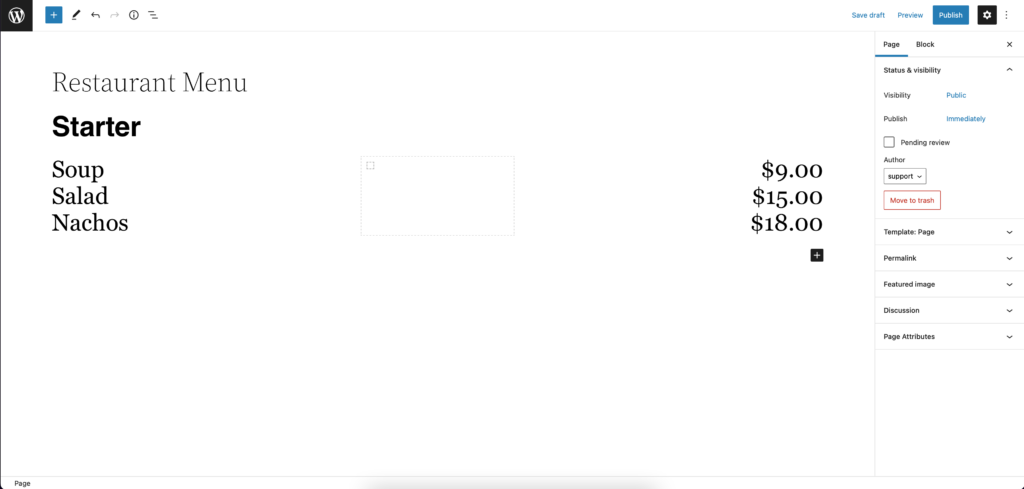
- Each item in your menu can be entered with a series of Headline blocks on the left.
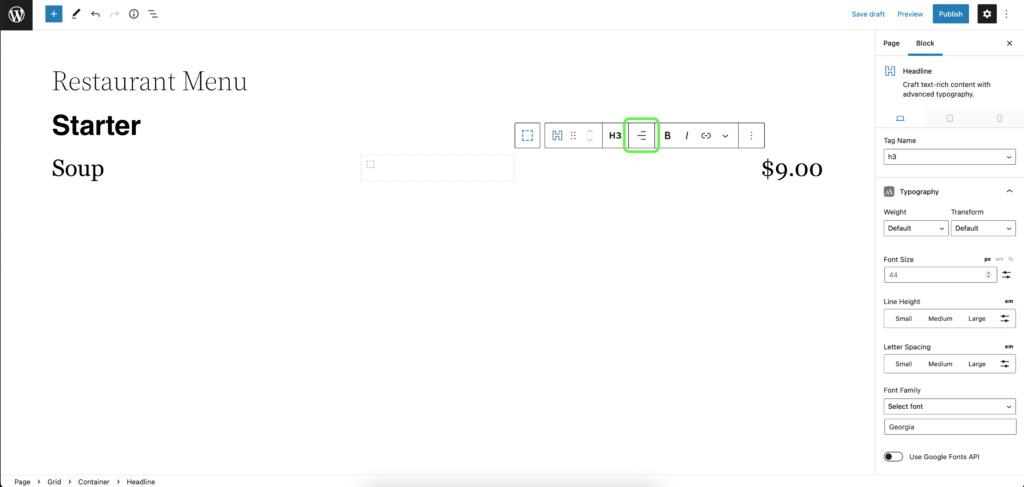
- The prices are put into the rightmost column and Right Justified to keep things lined up nicely. The middle column can remain blank to create space.
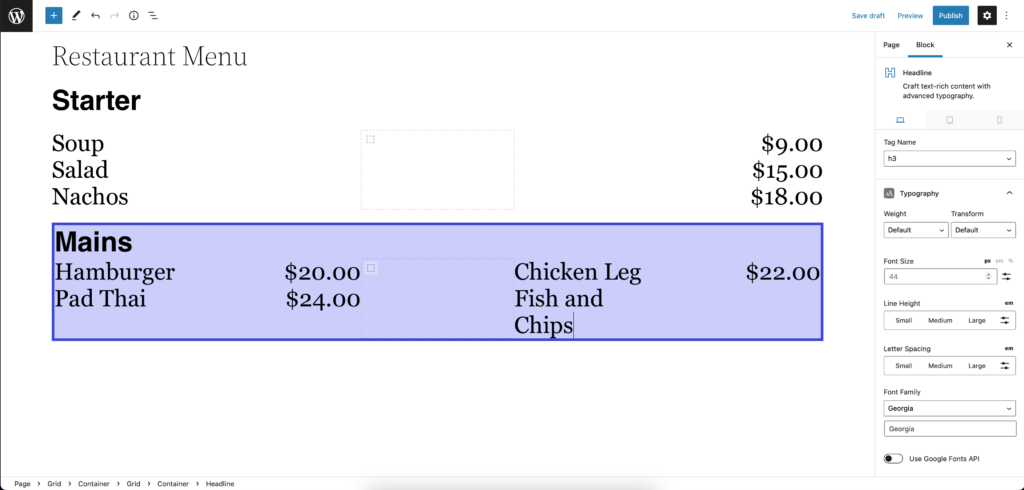
- Keep adding Headline blocks to fill out your menu.
- Add as many items as needed.
Of course, if you have other sections to include, you may want clearer organization to distinguish between them.
Here’s How To Do It:
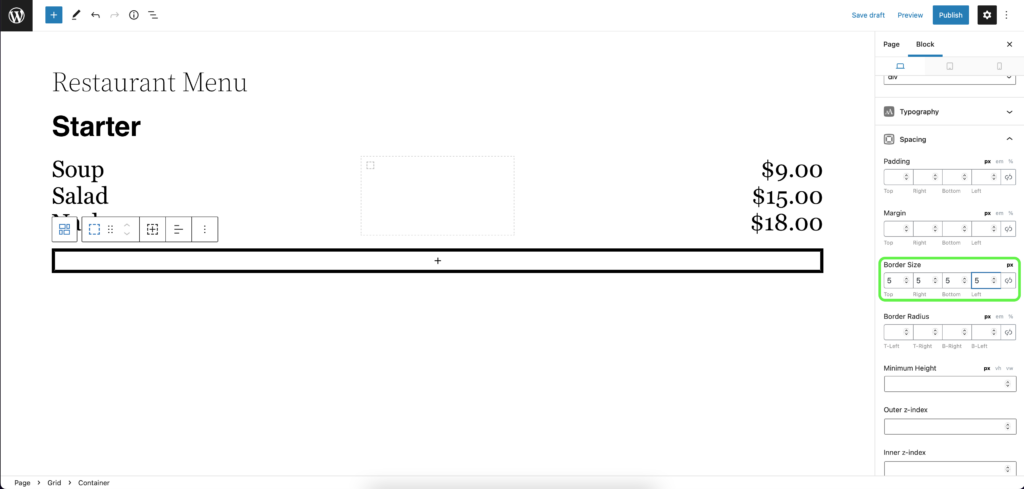
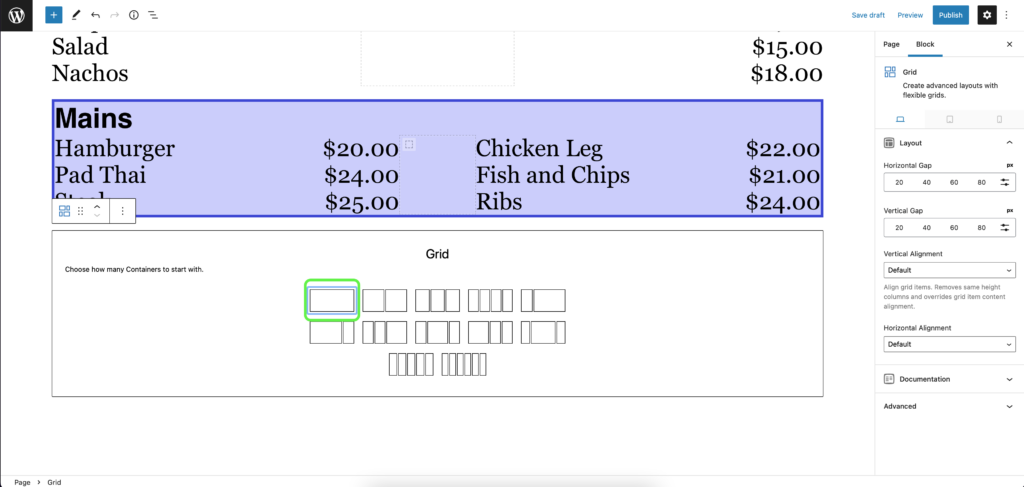
- Add another Grid block below the section you’ve just completed.
- You should start off with a single container so that you can clearly mark off this section.
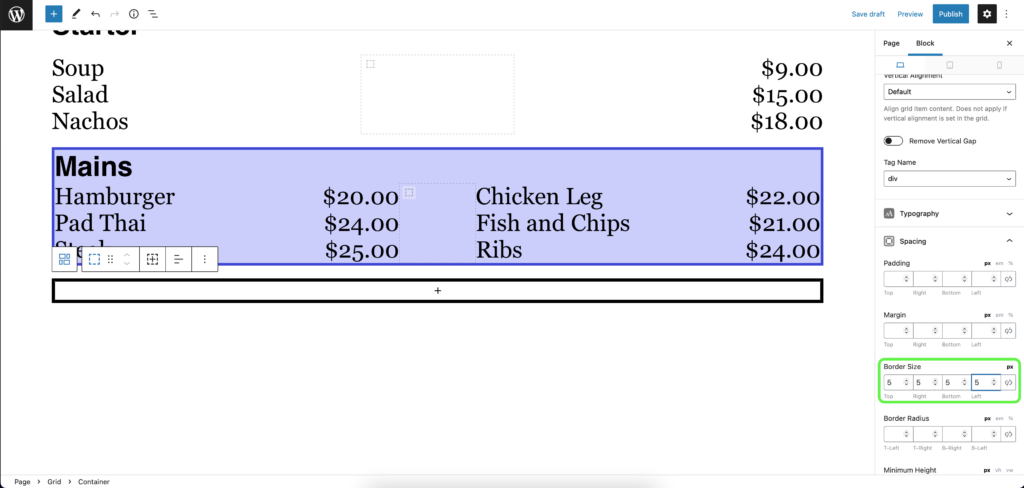
- Increase the border size to make it clear to customers they’re looking at a new section.
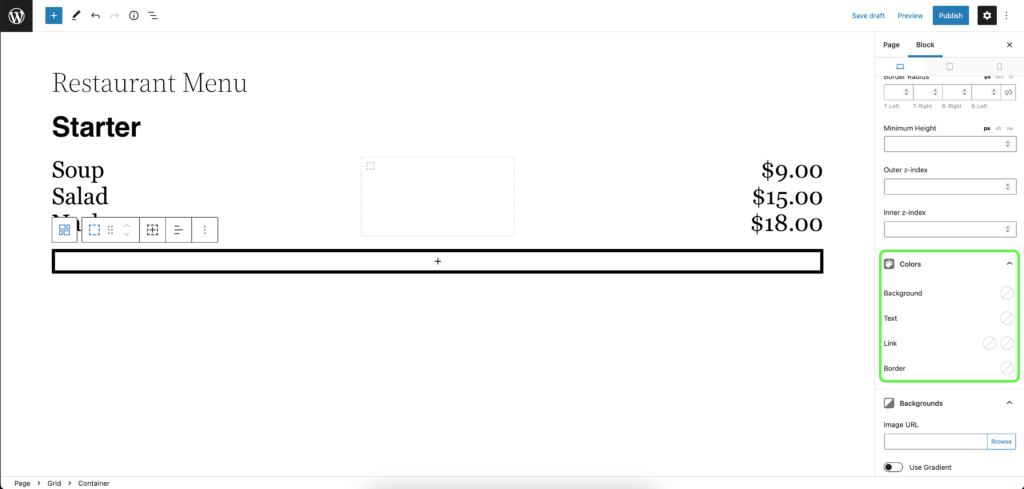
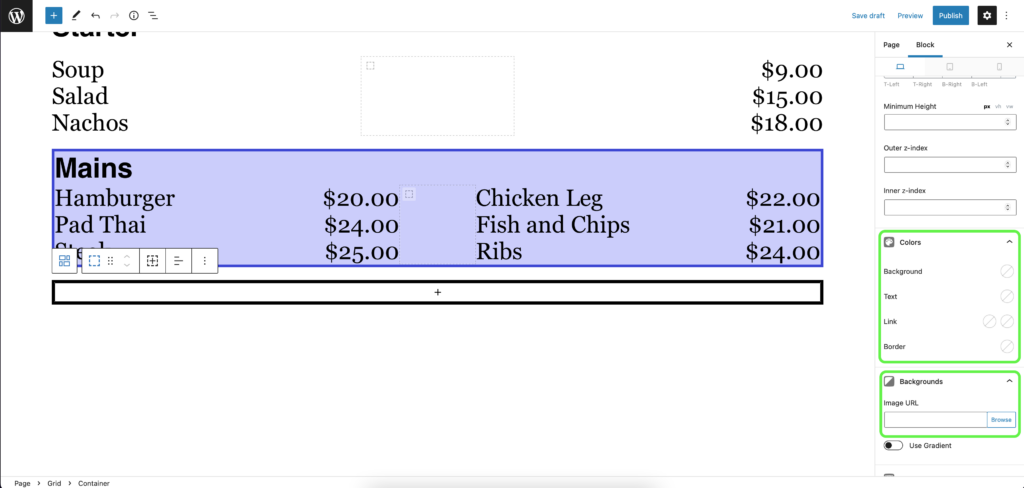
- You can change the Background and Border colors to fit your restaurant’s theme.
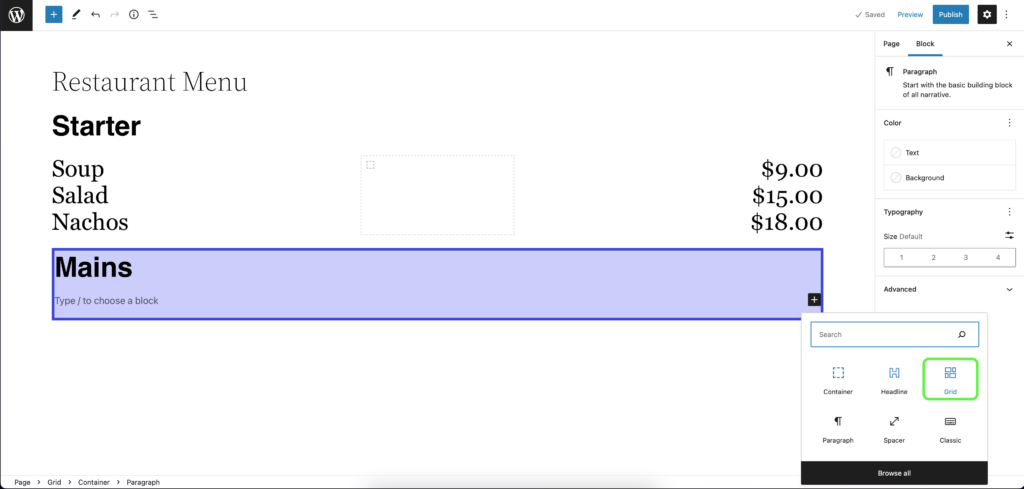
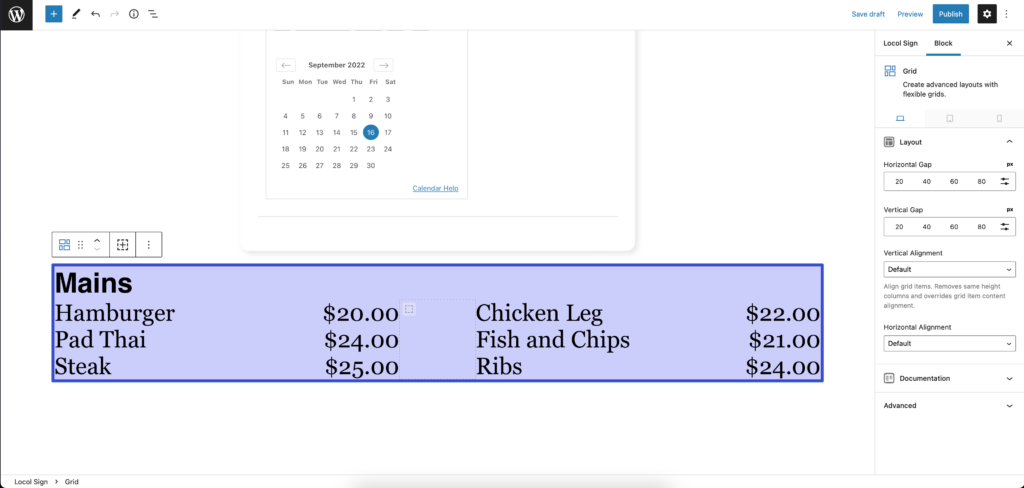
- Once you’ve altered the colors, you can create a Headline to title the section.
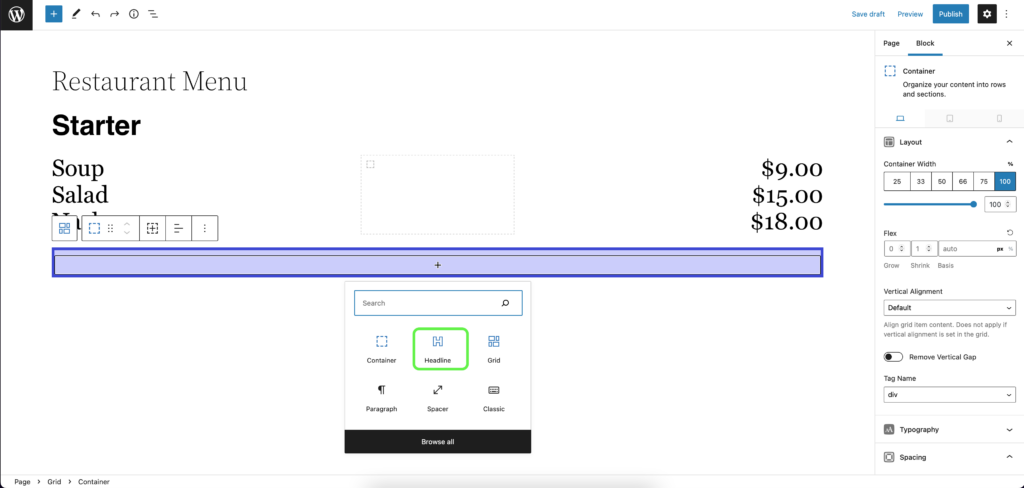
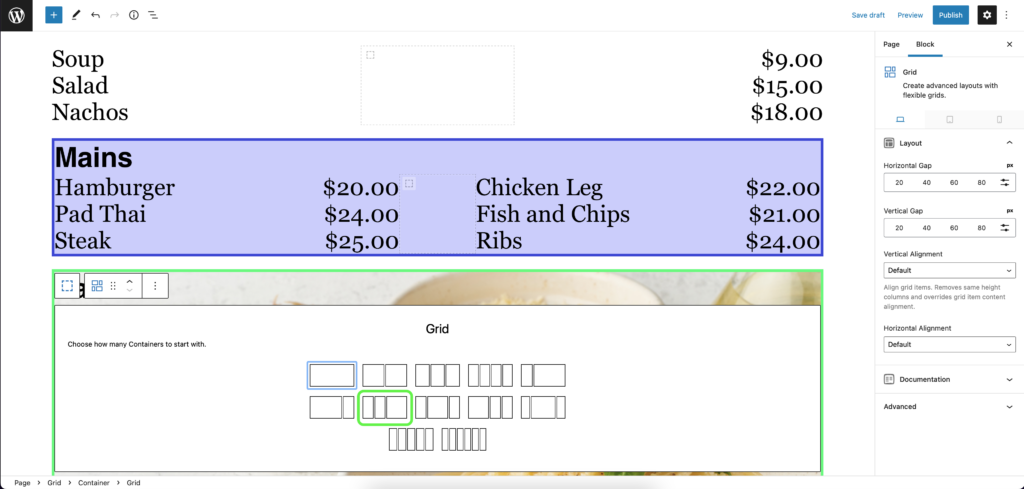
- Create a new Grid block under the section title to fit the type of items you want to feature.
- This time, we’ll go for a 5-Column block to fit more information.

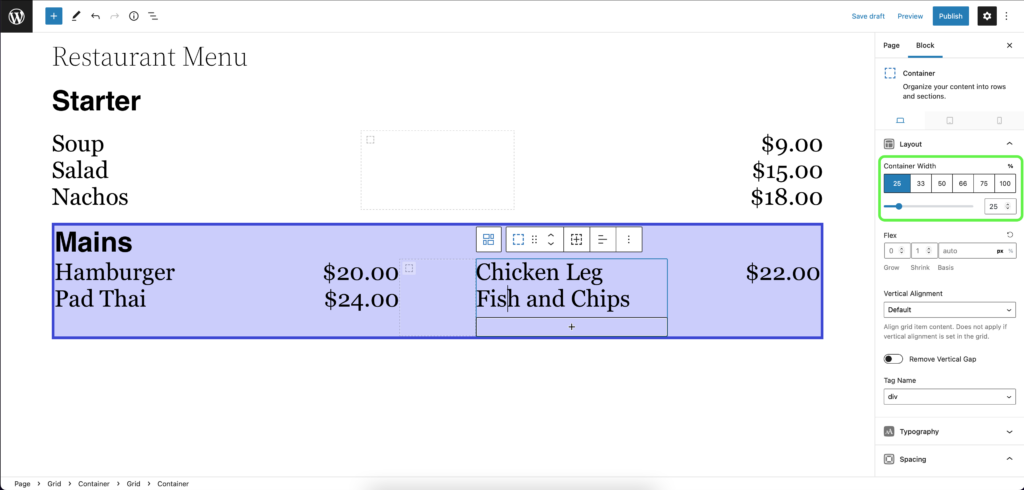
- You can use the two columns on the left and the two on the right to enter in the details. Keep the middle column blank to help create space.
- If an item needs more space, you can change the size of the columns to accommodate.
- Use the column width tool to set them to fit all the items in the menu.
Many menus will feature images to entice customers. GenerateBlocks has an easy way to include images on your site.
Here’s How To Do It:
- As before, start with a single container for your Grid.
- Adjust the border width to to clearly mark this as a separate section.
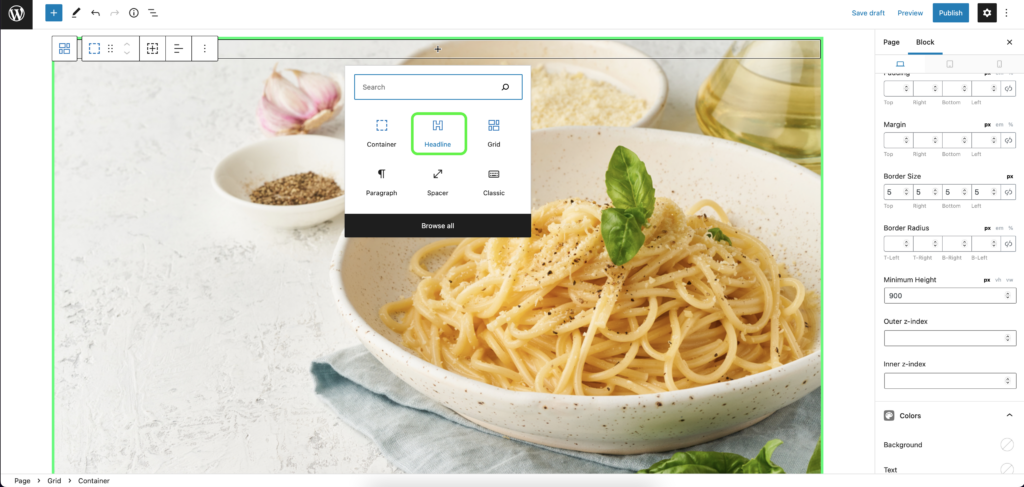
- Once again, you can adjust the border color as appropriate, but this time you can also upload an image to set as the background of this section.
- You will need to fix the minimum height in the toolbar; we set ours to 900 to view the entire image.

- As before, use a Headline block to title this section.
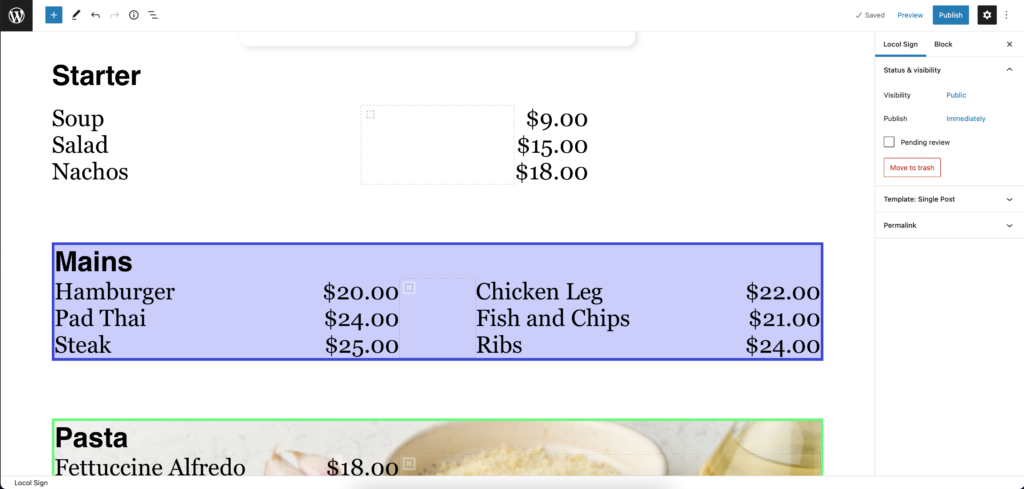
- Since we want to ensure that the right side of the image is still clear for customers to see, we will use a 3-Column block that gives the rightmost block the most space.
- We still need to adjust the left and middle column widths to ensure that the items on the menu fit properly.

- We’ve taken the time to make sure that the price column still lines up with the section above, to make it feel more organized.
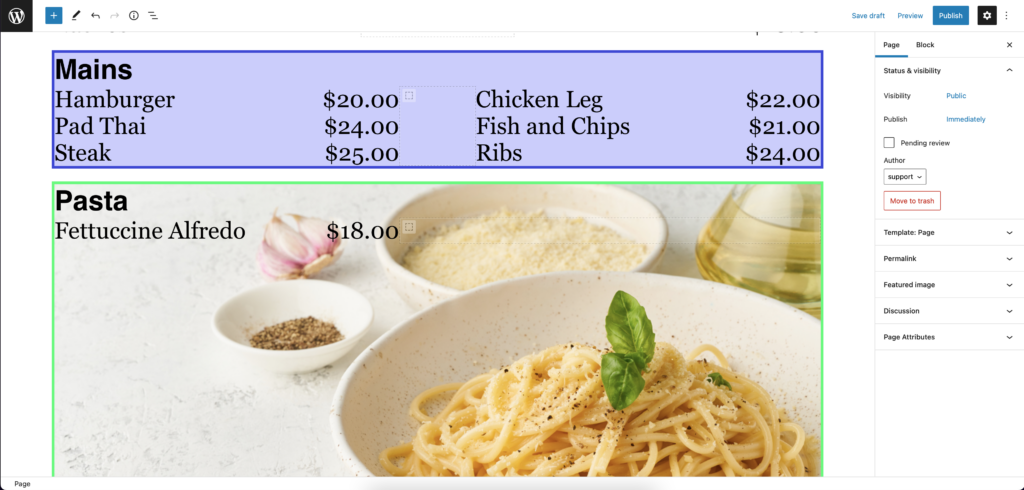
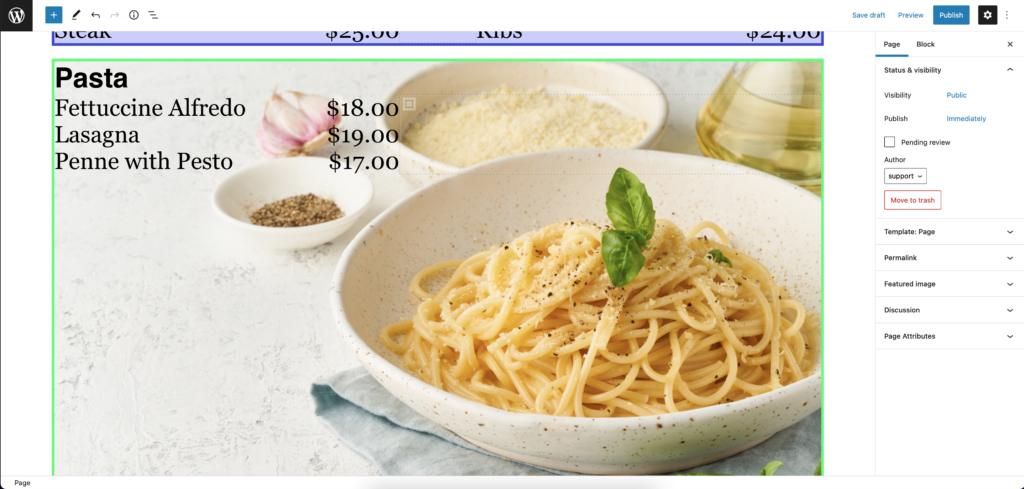
- As we add more items, you can see that the pasta image won’t be blocked by the text.
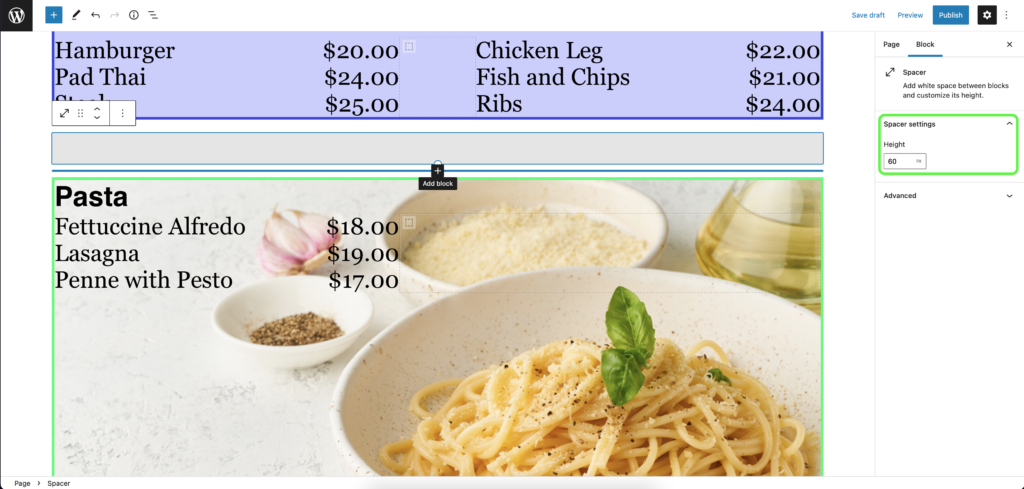
- If you feel that the sections are too close together, add a Spacer block to separate them.
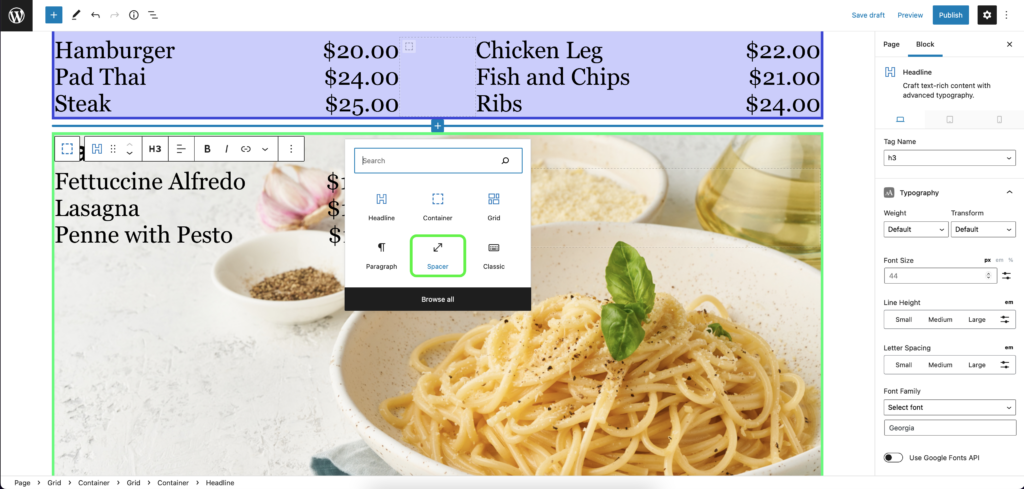
- You can adjust the height of the spacer to fit the look you want.
Phase 3 – Deploying the Page as a Slide
You can reuse all the assets you’ve already created in building the website to save time and energy in creating slides in Locol. This will let you quickly recreate the same menu for customers to see on a digital display in the restaurant entrance.
Here’s How To Do It:
- Select the block you want to use in your ad and choose Select parent block (Container).
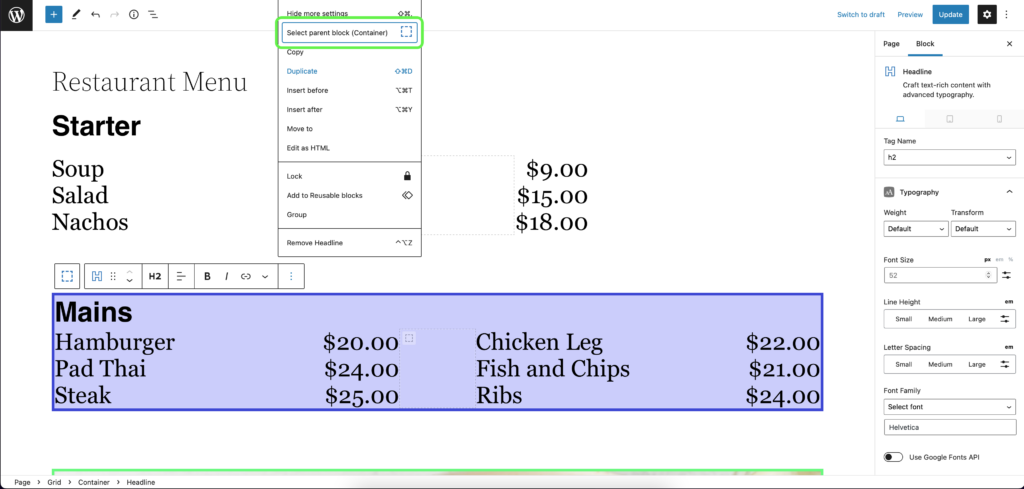
- Continue to select the parent block until the option disappears, which means you are now selecting the entire block.

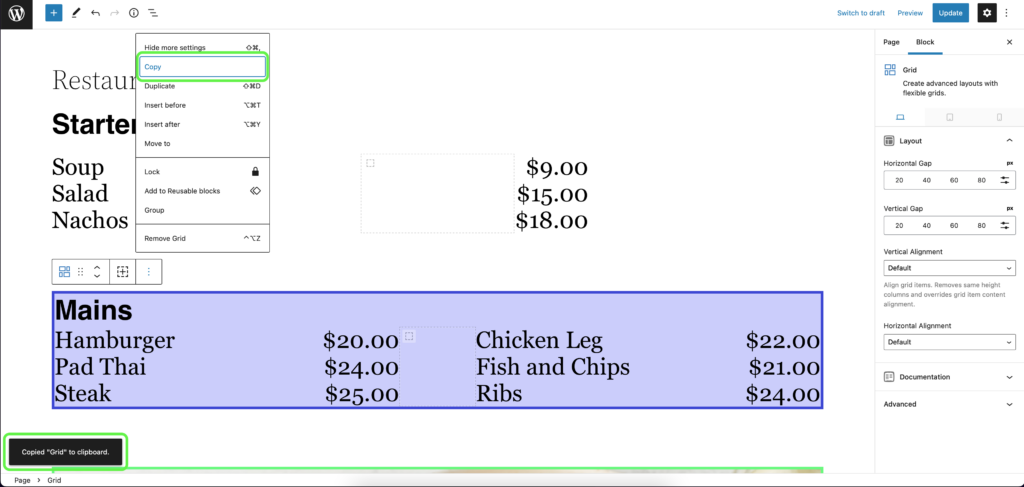
- Click on Copy to save this block for later. You’ll get a confirmation notification at the bottom of the screen.
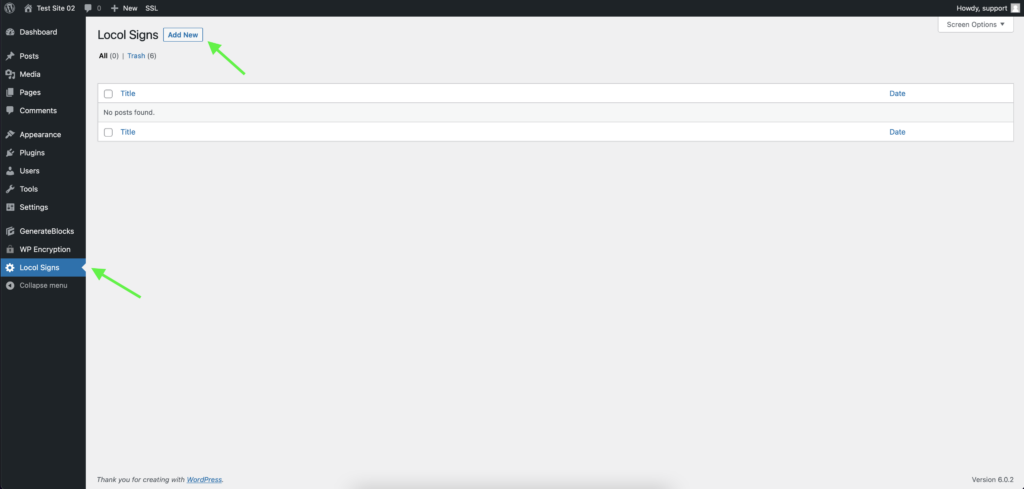
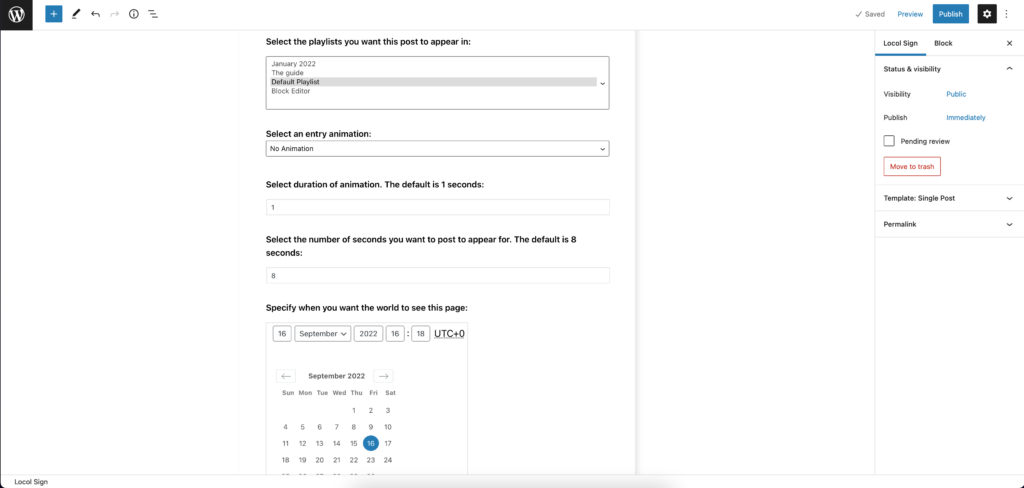
- Head over to the Locol Signs tab on the left and click on Add New.
- Here is the familiar Locol Block that will save the menu into a playlist.
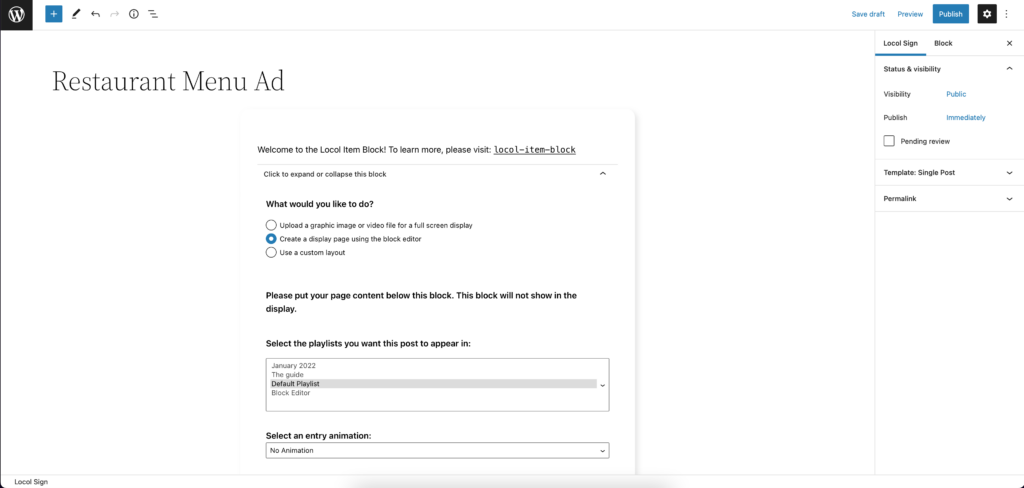
- Create a new block entry and paste the block you copied with CMD/CTRL+V.
- The block will appear exactly as you created before.
- You can go back to the original page and continue copying the blocks there to recreate the entire menu.
- Make adjustments to the Locol block so that the menu appears on the display just as you want it to.
Phase 4 – Going Forward
This process will allow you to expand your portfolio efficiently and effectively.