Summary
This case focuses on using WPs own tools and plugins to edit images. Professionals who are interested in WP’s block editor will find this useful.
Context
A travel agency located in a shopping mall wanted to expand its digital signage experience, and approached us for help. The photos and examples used are original material and not the ones used by the agency in store.
Goals
The agency wanted to use a display set up in their storefront window to feature new packages and deals.
Phase 1 – Understanding the Environment
Since the agency was in a mall, there would be a lot of traffic passing by. No display had been set up yet, but would still be provided for us to be placed in the store front window.
Phase 2A – Setting Up The Display
The store provided a 40-inch new display, which made installation simple. As with Greenfield, we used a Raspberry Pi with our own custom player agent software along with VNC Viewer for remote maintenance. We designed the slides during this step.
Phase 2B – Designing The Slides
The travel agency provided images of landscapes and tourist sites from various destinations. They wanted us to take these images and add text with information about their packages.
We took this project as an opportunity to explore WP’s own tools and plug-ins to see if they were up to the task. Specifically, we wanted to test the limits of the GenerateBlocks plugin To do this, we looked at the WP plugins and selected the ones best suited for the task. These included:
- GenerateBlocks
- Page Editor Full Width
Most slides followed a simple formula; just a picture with some text about a new package. While the basic image editor in WP just allowed adding text in the middle, GenerateBlocks gave us the freedom to place text almost anywhere we wanted.
With this tool, we were able to create a wide variety of slides, each with a unique look depending on the image given and the information that was needed to add on.
An added benefit to GenerateBlocks is that there is no limit to the number of grids and containers that can be stacked, so long as your images are featured as backgrounds in each layer.
Here’s How To Do It:
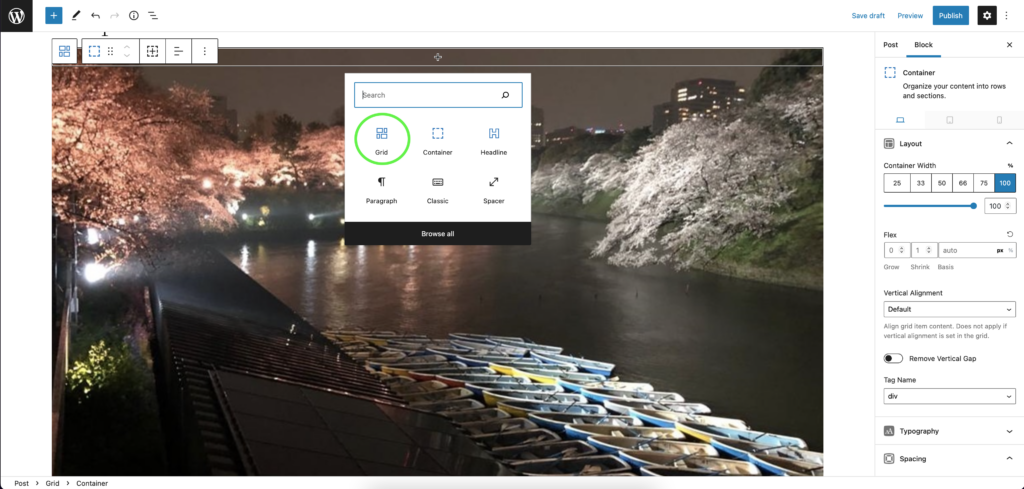
- Use the Grid feature to create a single container.

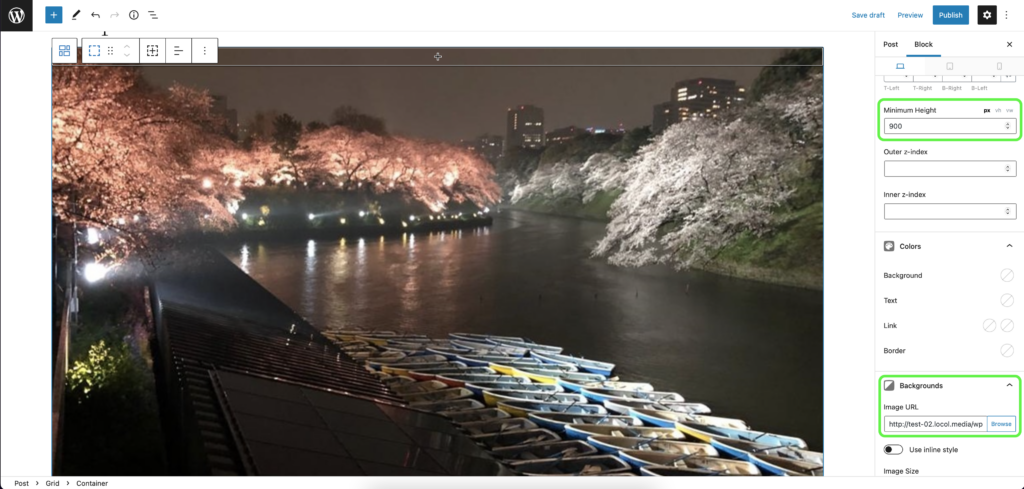
- Select your image from your media library to use as a Background in the container and set the minimum length so that you are able to view the entire picture.
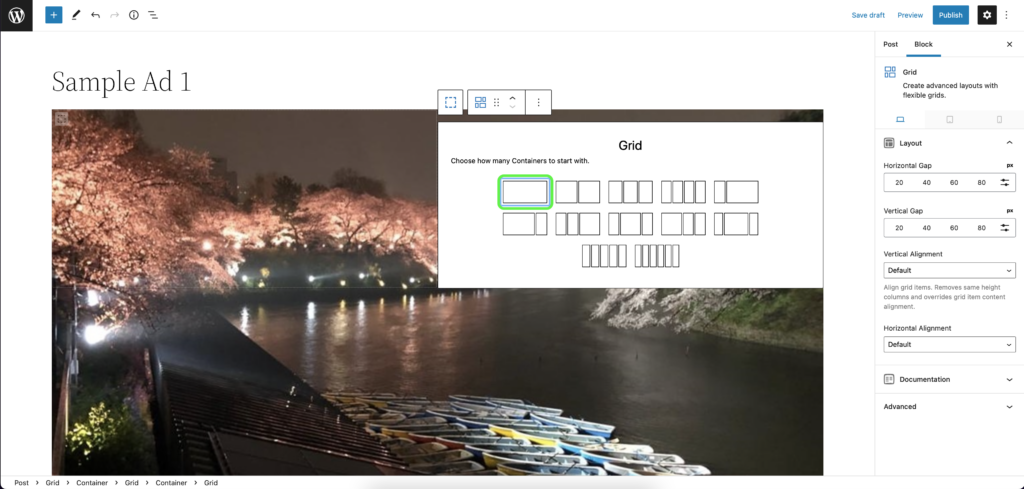
- Create a new Grid block, which will be layered on top of your background image.
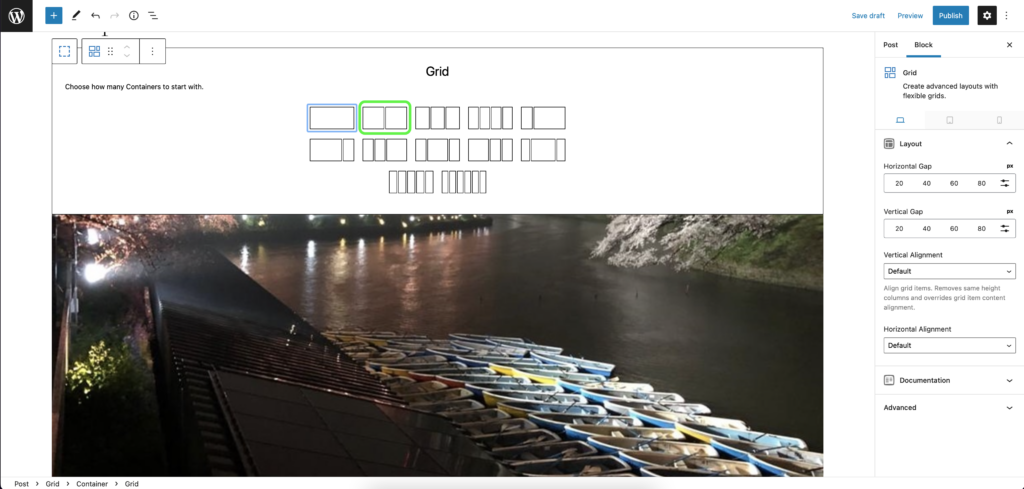
- For this example, we’ll use two containers that are evenly spaced out. You can choose any other style that fits your ad.
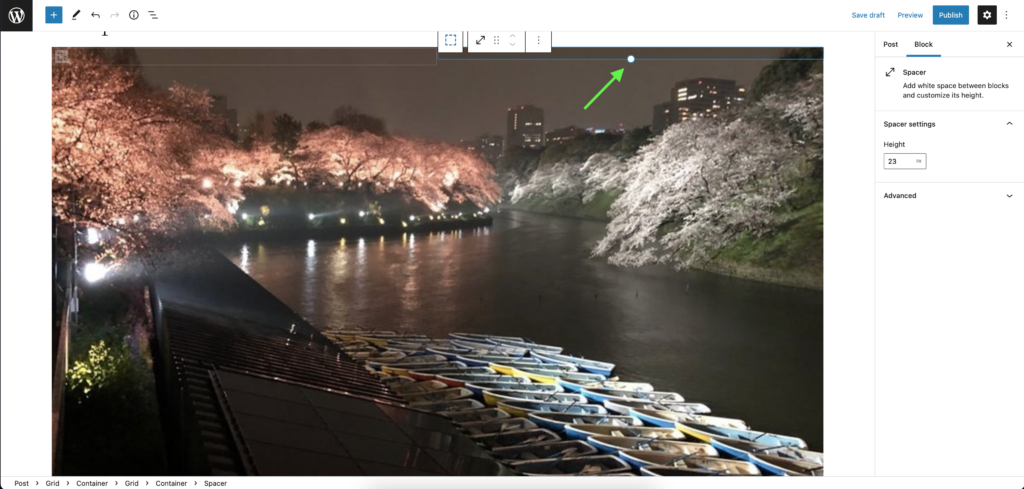
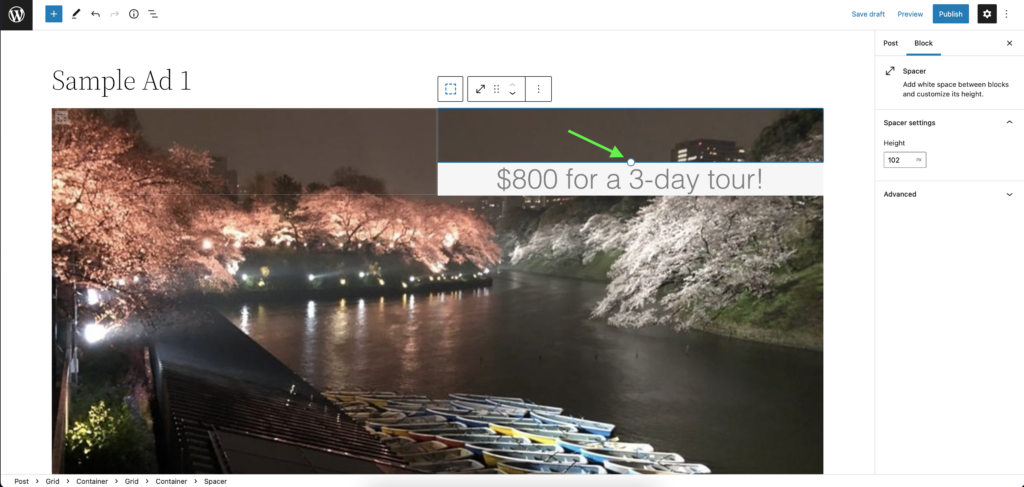
- We’re planning on putting the ad copy on the upper right side of the ad, so we need to add a Spacer block to ensure the text is positioned at the correct height.
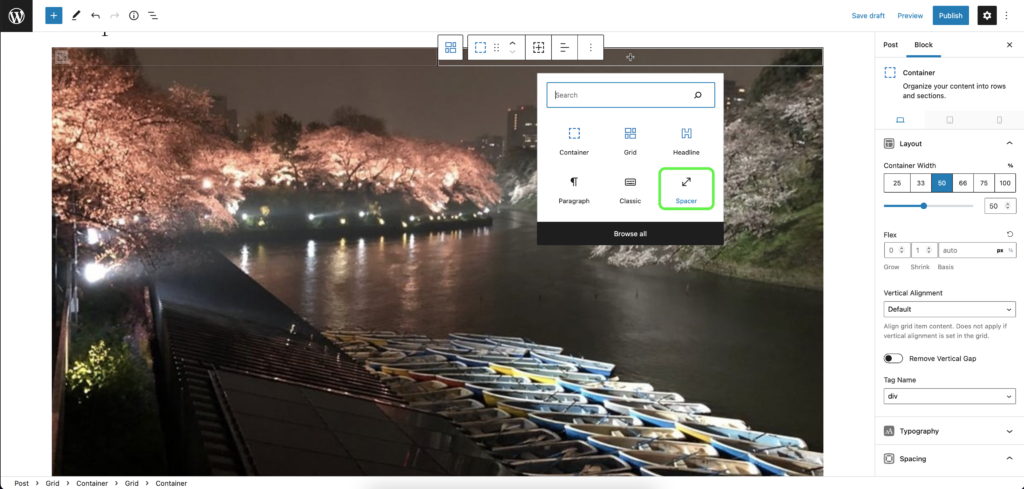
- Before you add any other blocks, you may need to reduce the height of the spacer so that you can create new blocks inside the container.
- Create a new Grid container – this time just a single one is enough.
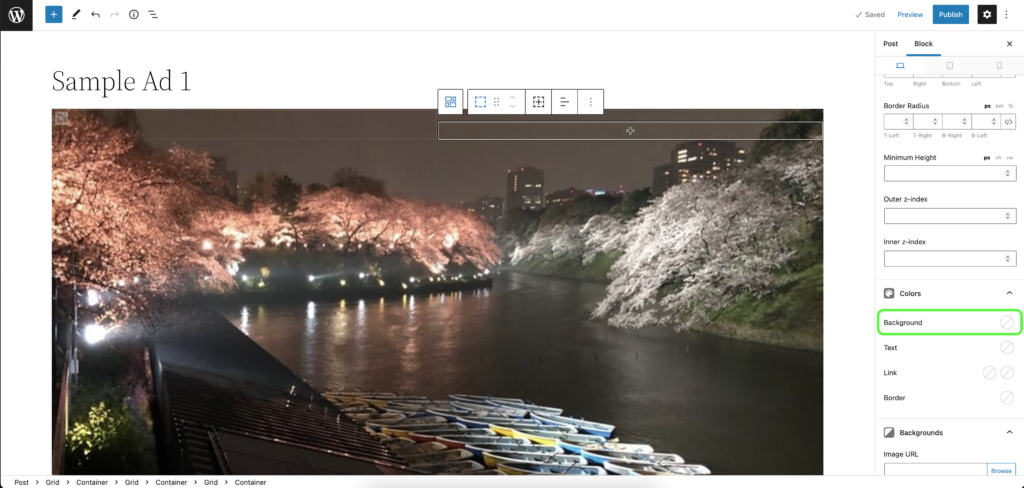
- You can set the background colour of this new container to make the text more readable.
- Use the Headline block for your ad copy. You’ll need one Headline for each line of text.
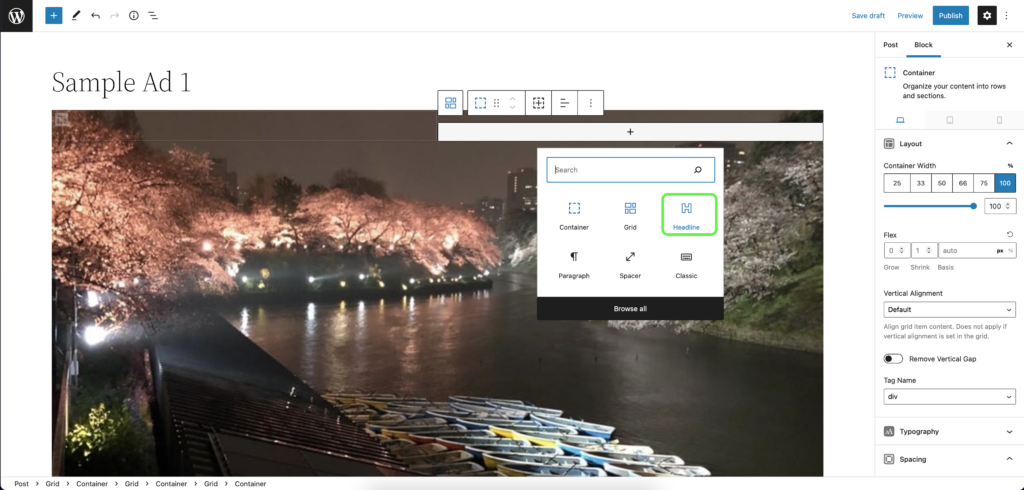
- The Headline block also lets you choose a font for further customization…
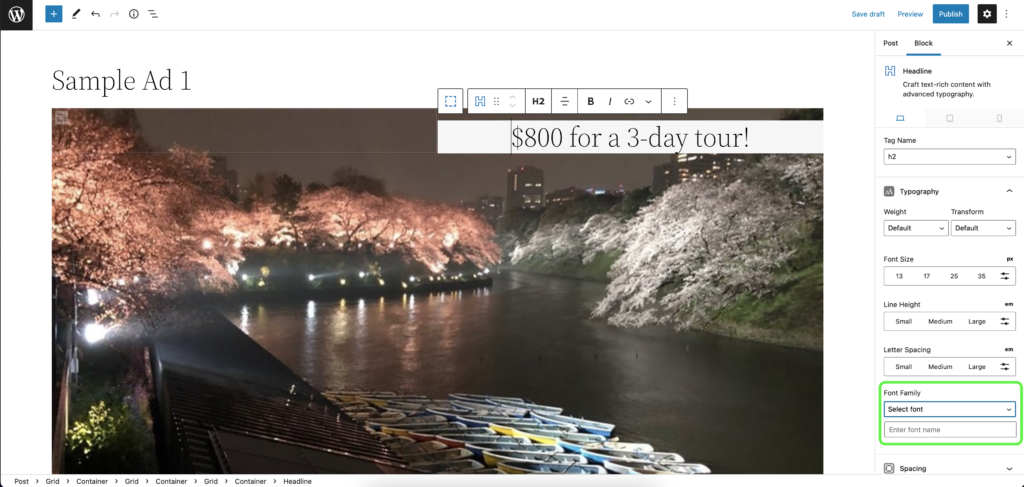
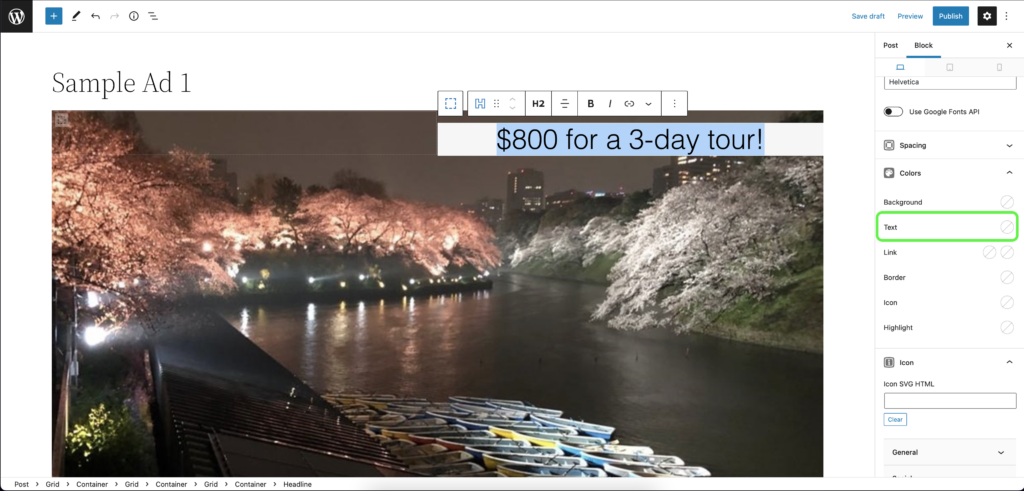
- As well as text colours.
- Now you can take the anchor from the Spacer block to bring down the text block to an appropriate height.
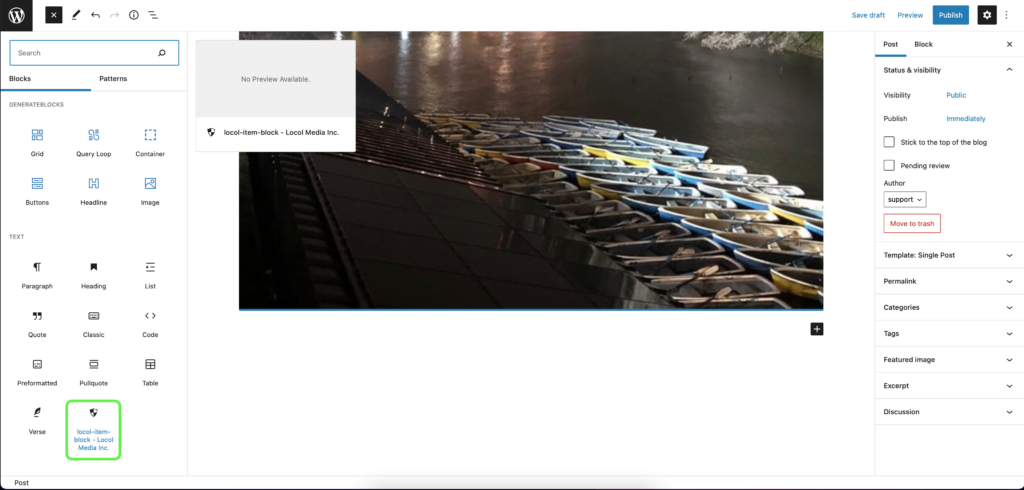
- Of course, always remember to add the custom Locol block.
An added benefit to GenerateBlocks is that there is no limit to the number of grids and containers that can be stacked, so long as your images are featured as backgrounds in each layer.
Here’s How To Do It:
- You can add any number of containers with varying orientations to suit your vision.
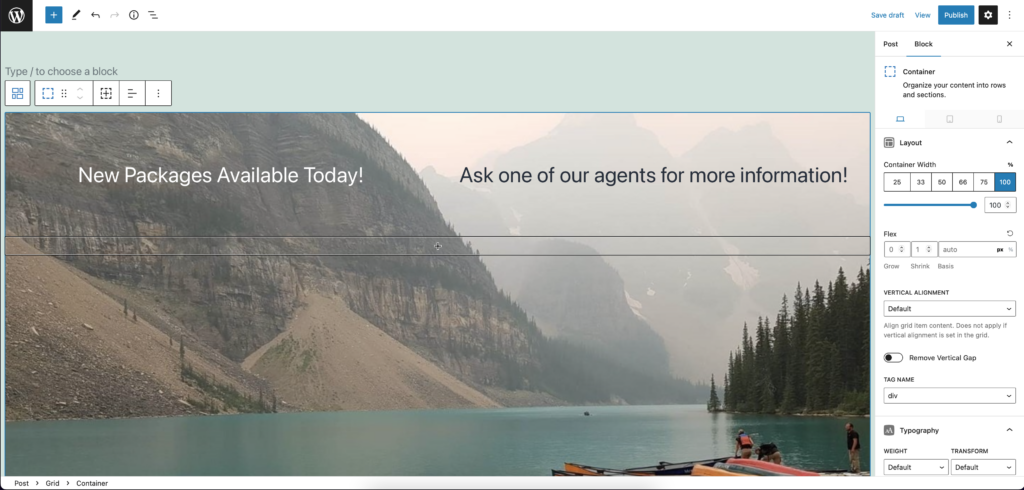
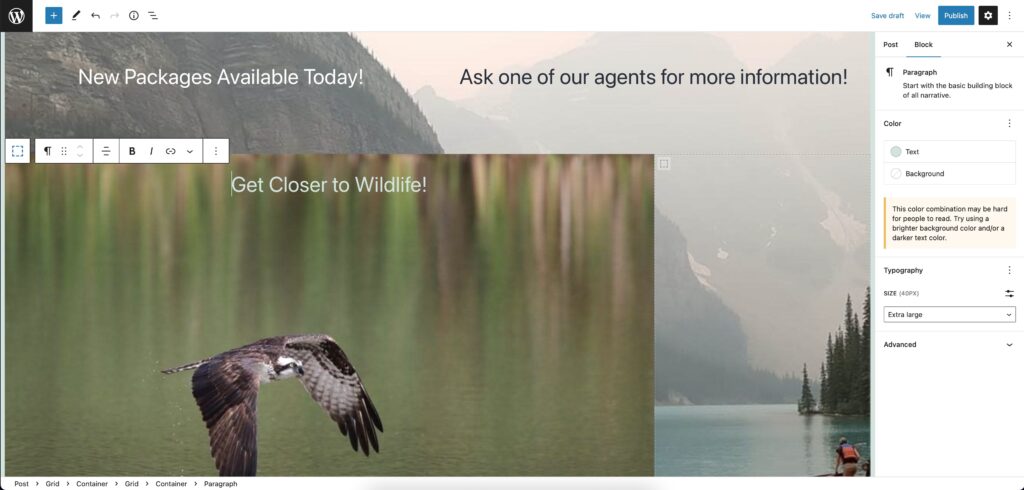
- Each new container can have its own background image. You can keep this cycle going on indefinitely.
Phase 3 – Deployment
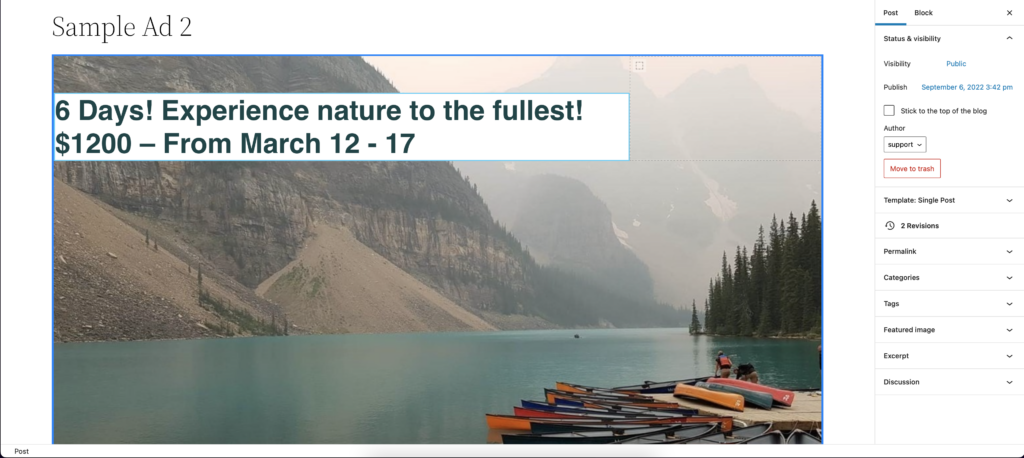
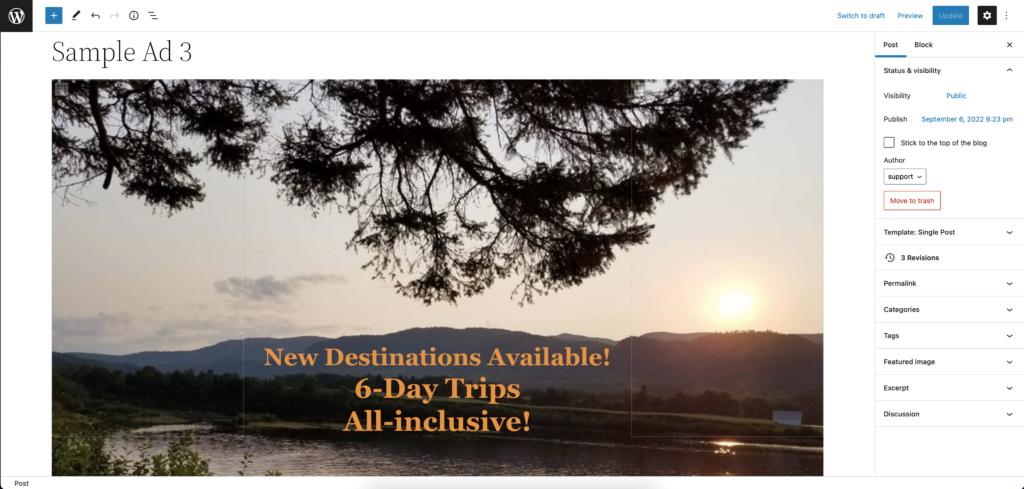
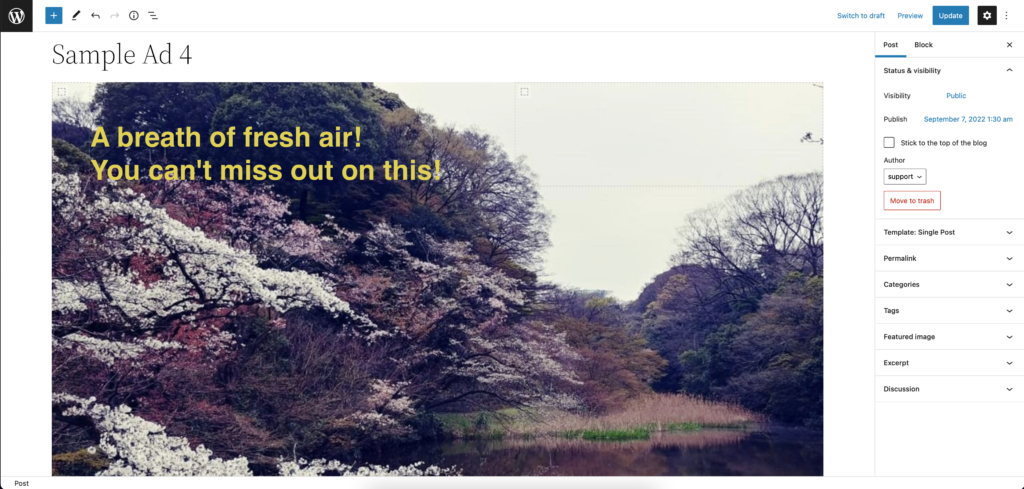
Here are some other ads we can show as a sample which are similar to the ones we designed for the travel agency.
Phase 4 – Going Forward
We are still monitoring how the ads will affect traffic and make adjustments as needed.
